
Last updated August 26, 2026
Free on-site gate assessment - hinges, posts, and your LiftMaster or Nice gate operator checked before anything is quoted
The assessment is free and the quote is the invoice.
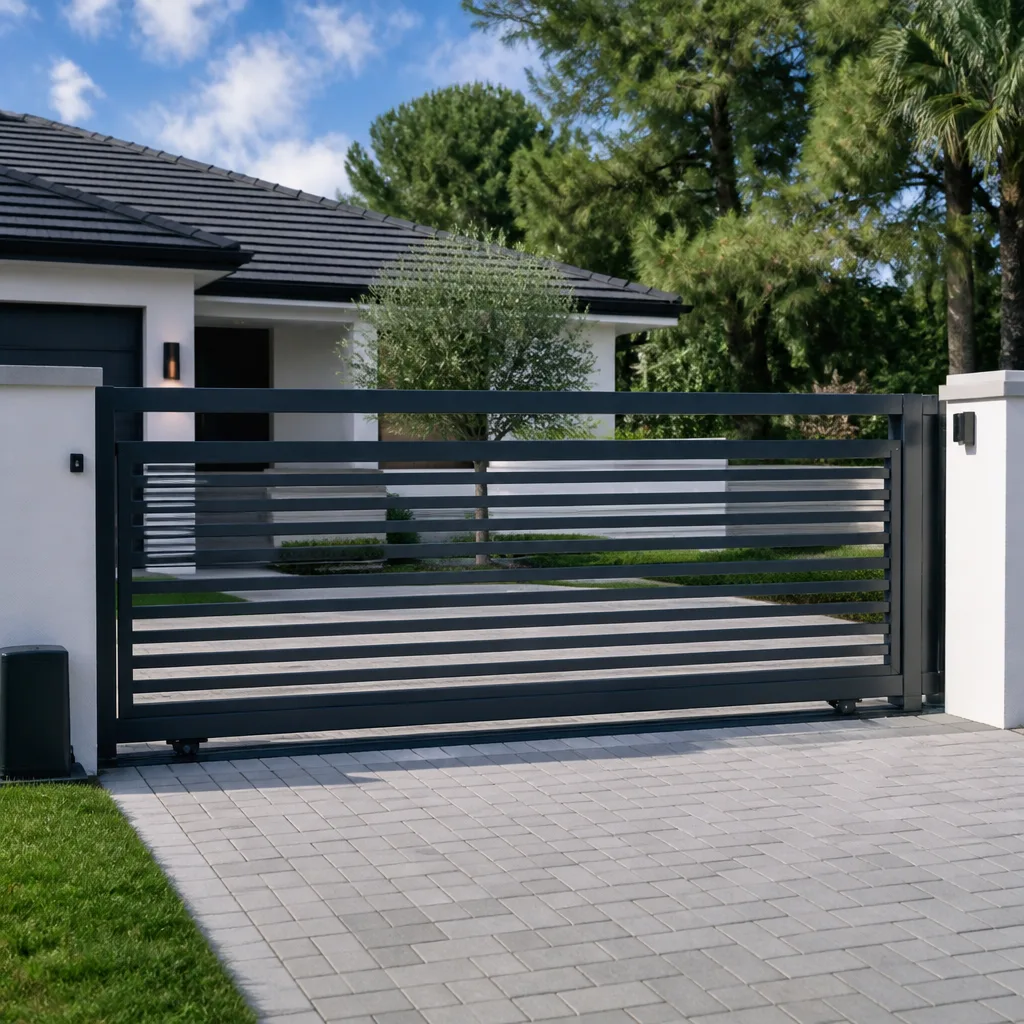
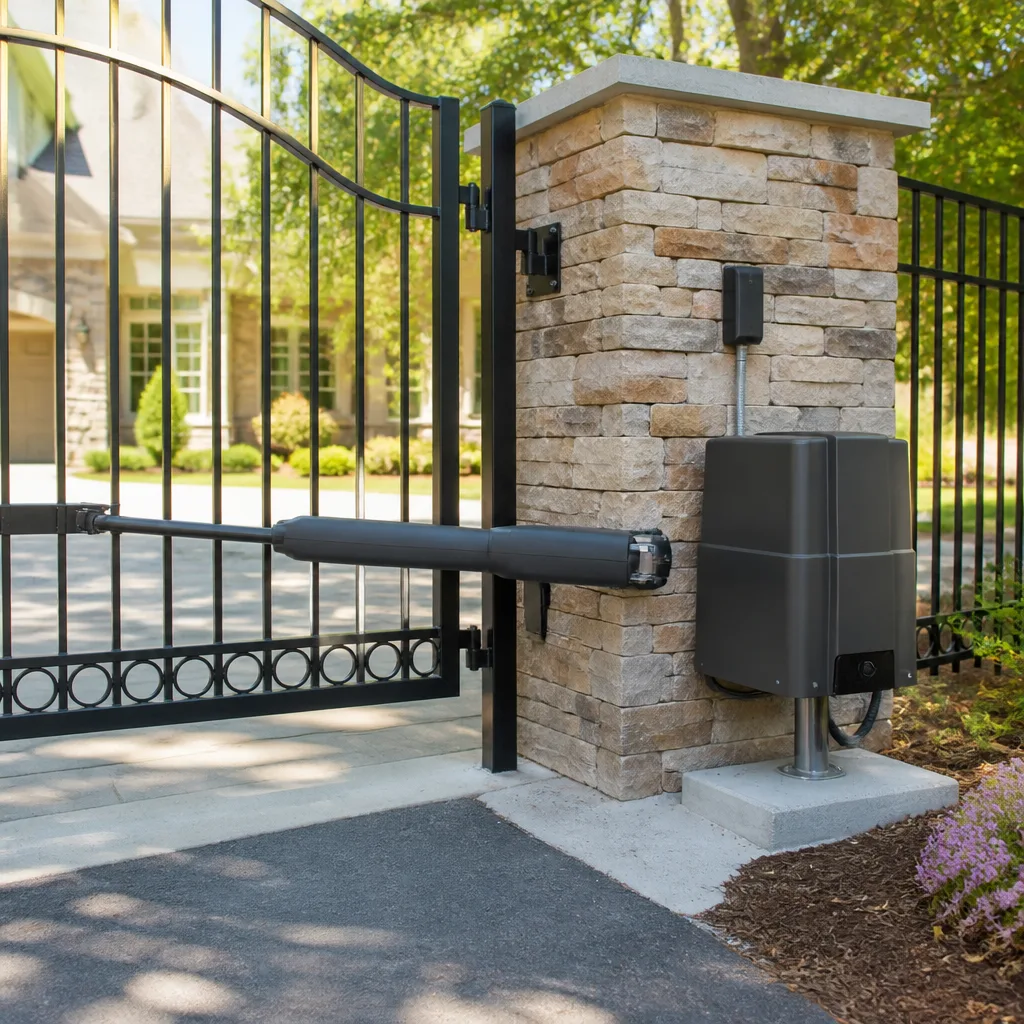
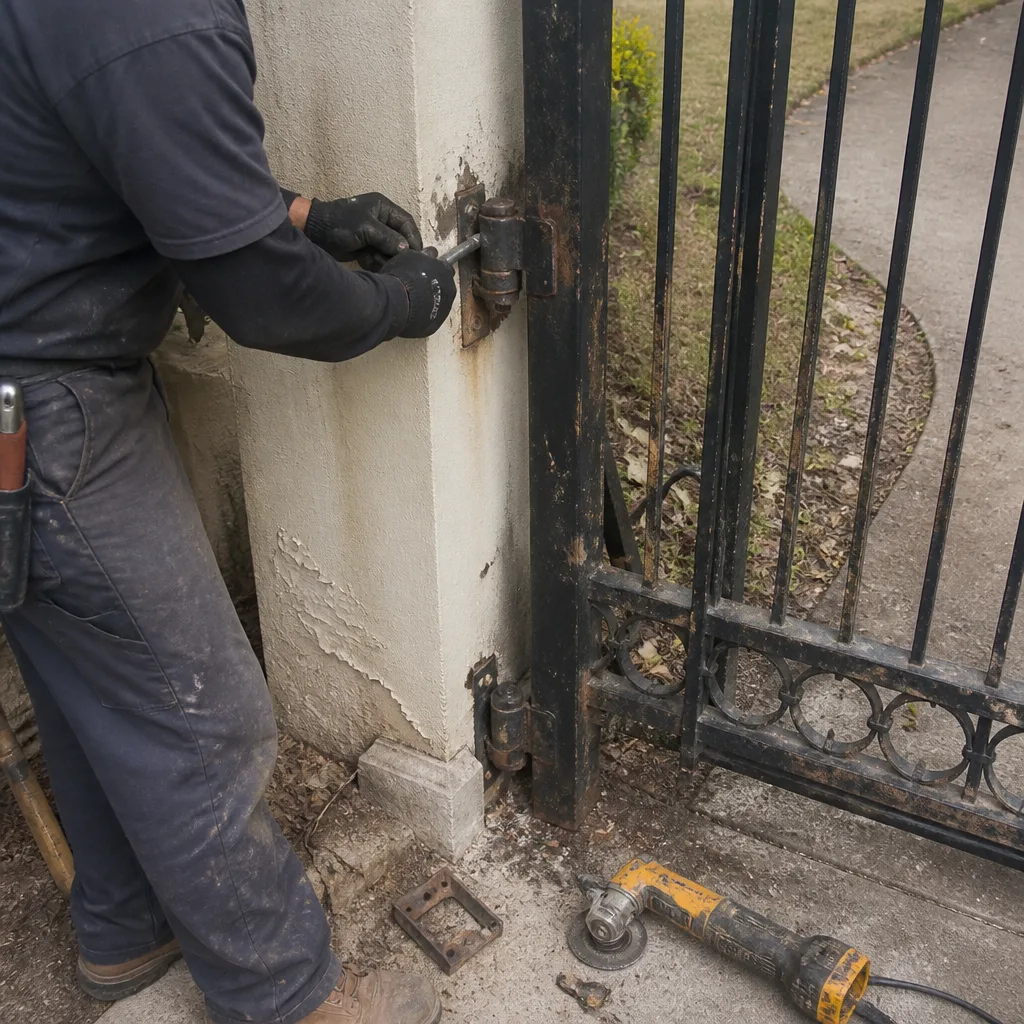 Before
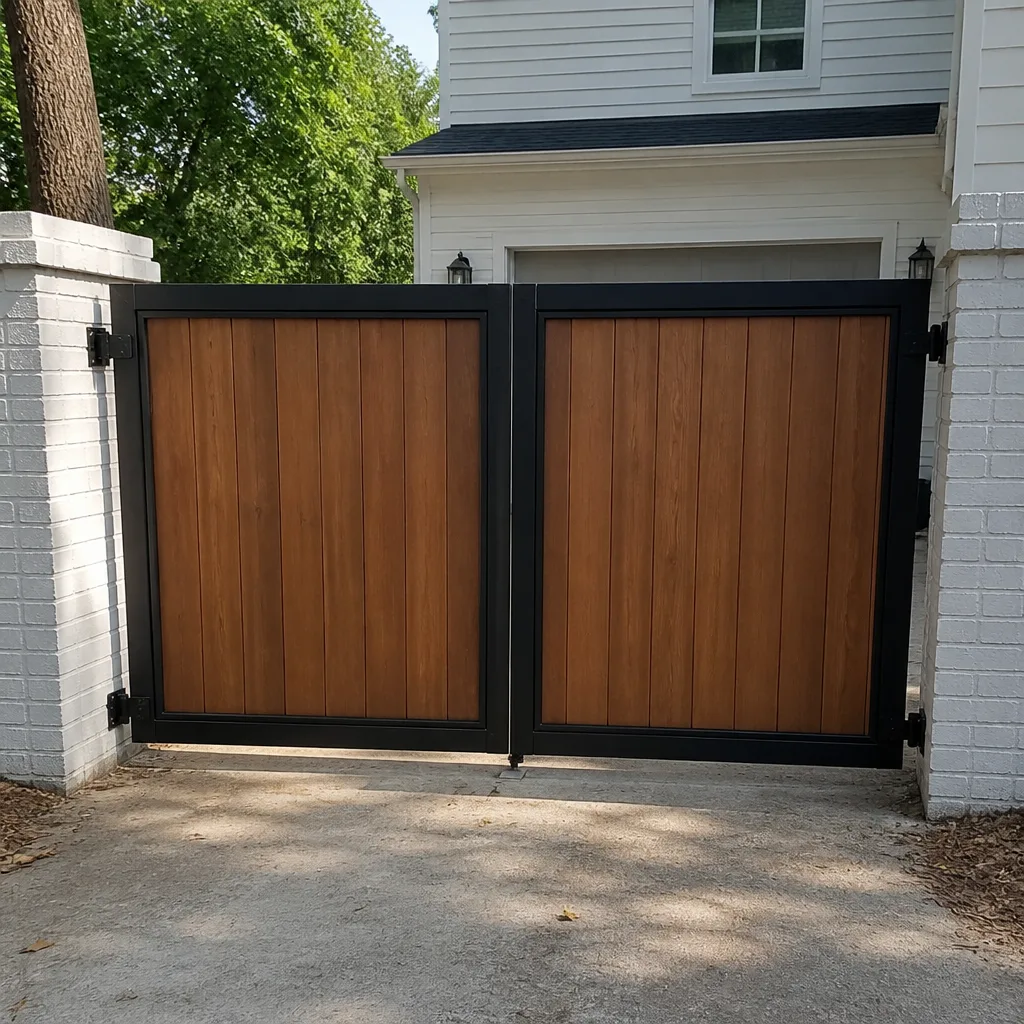 After
After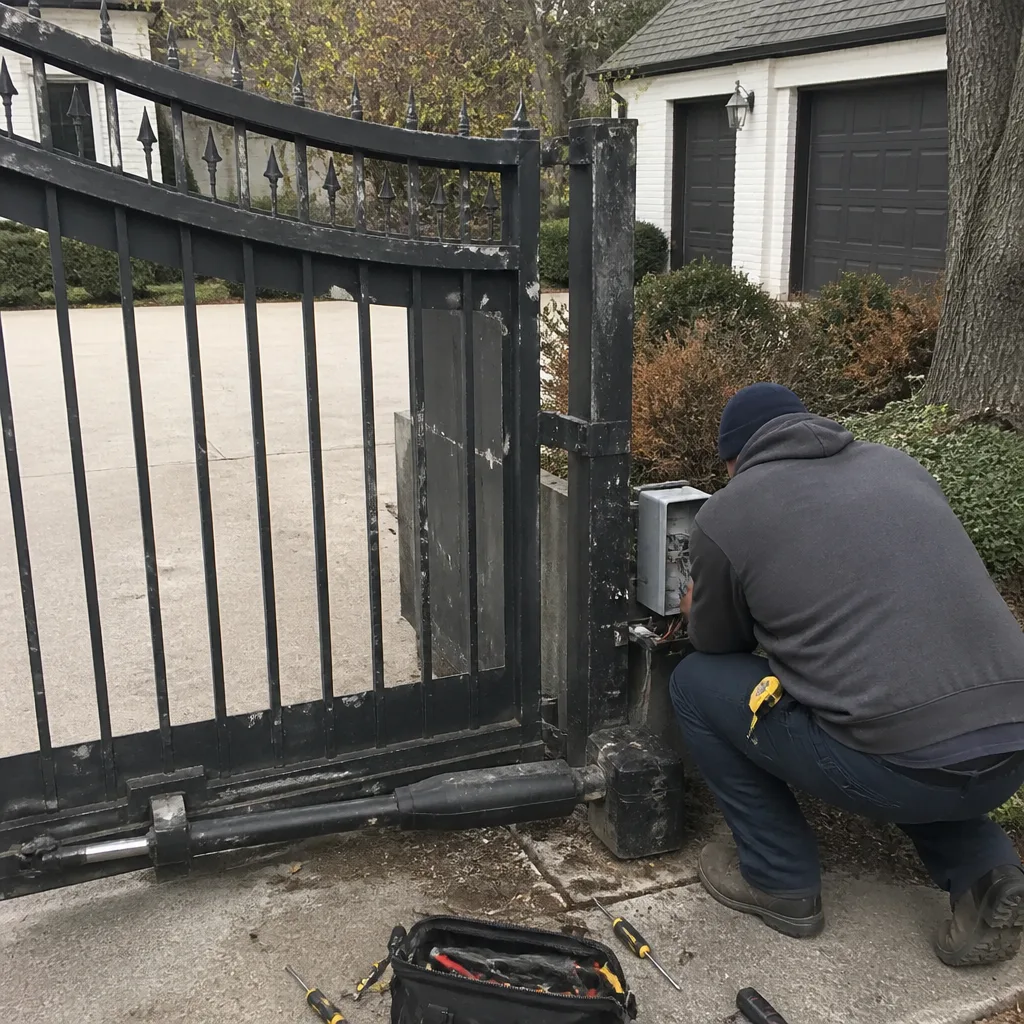 Before
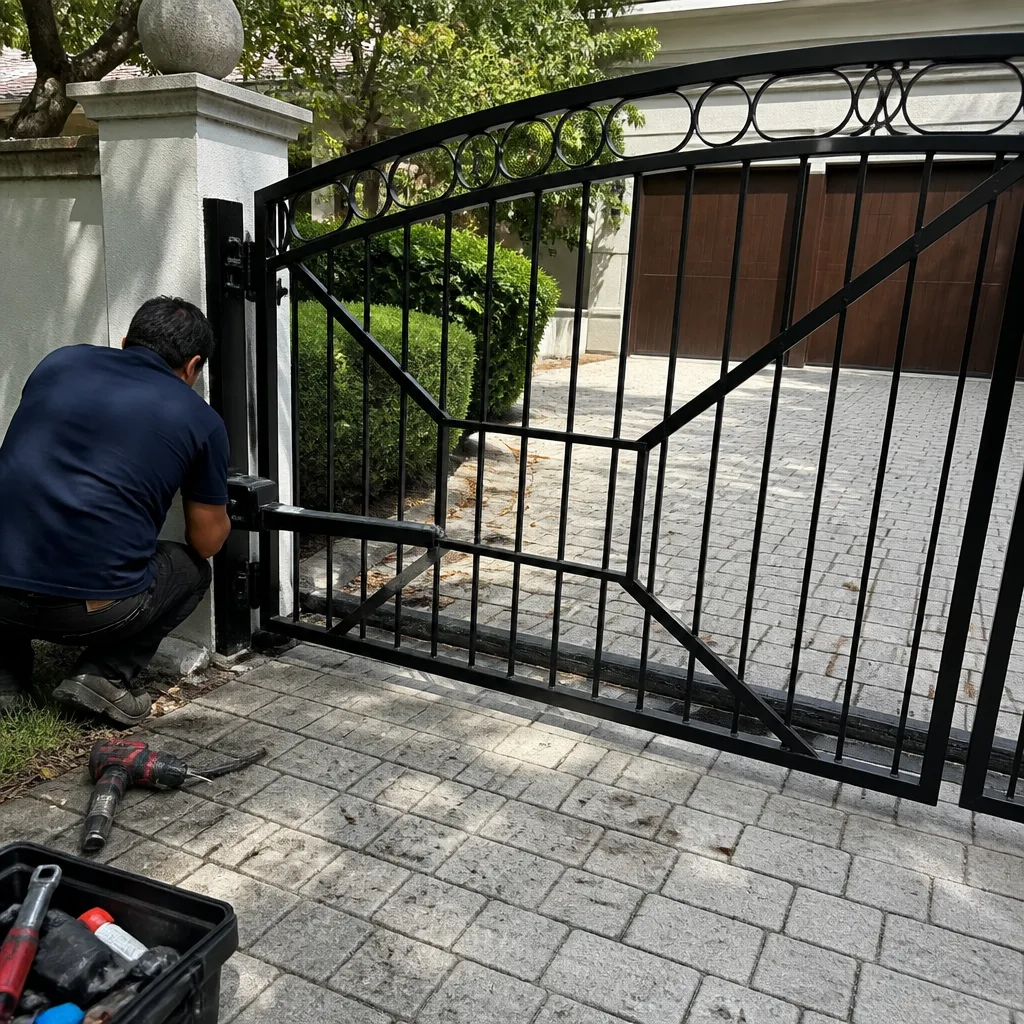 After
After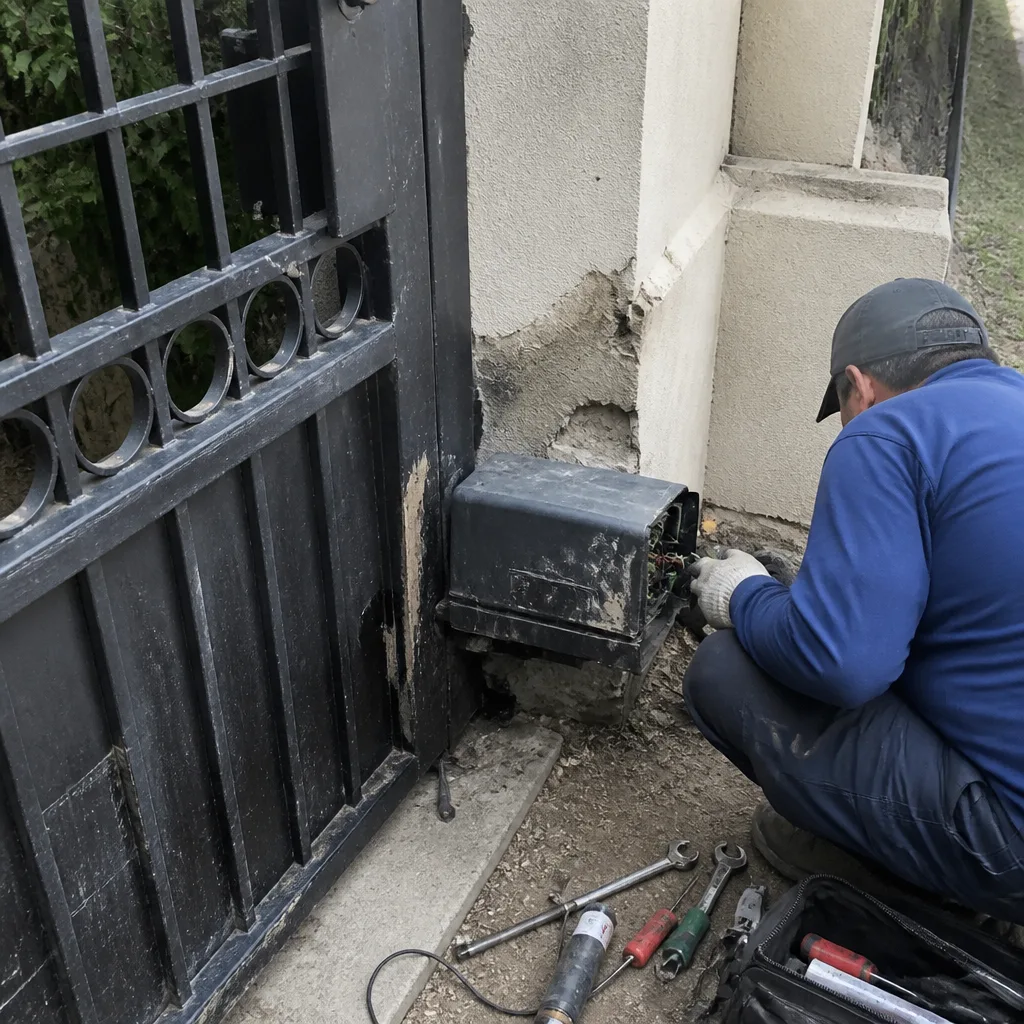 Before
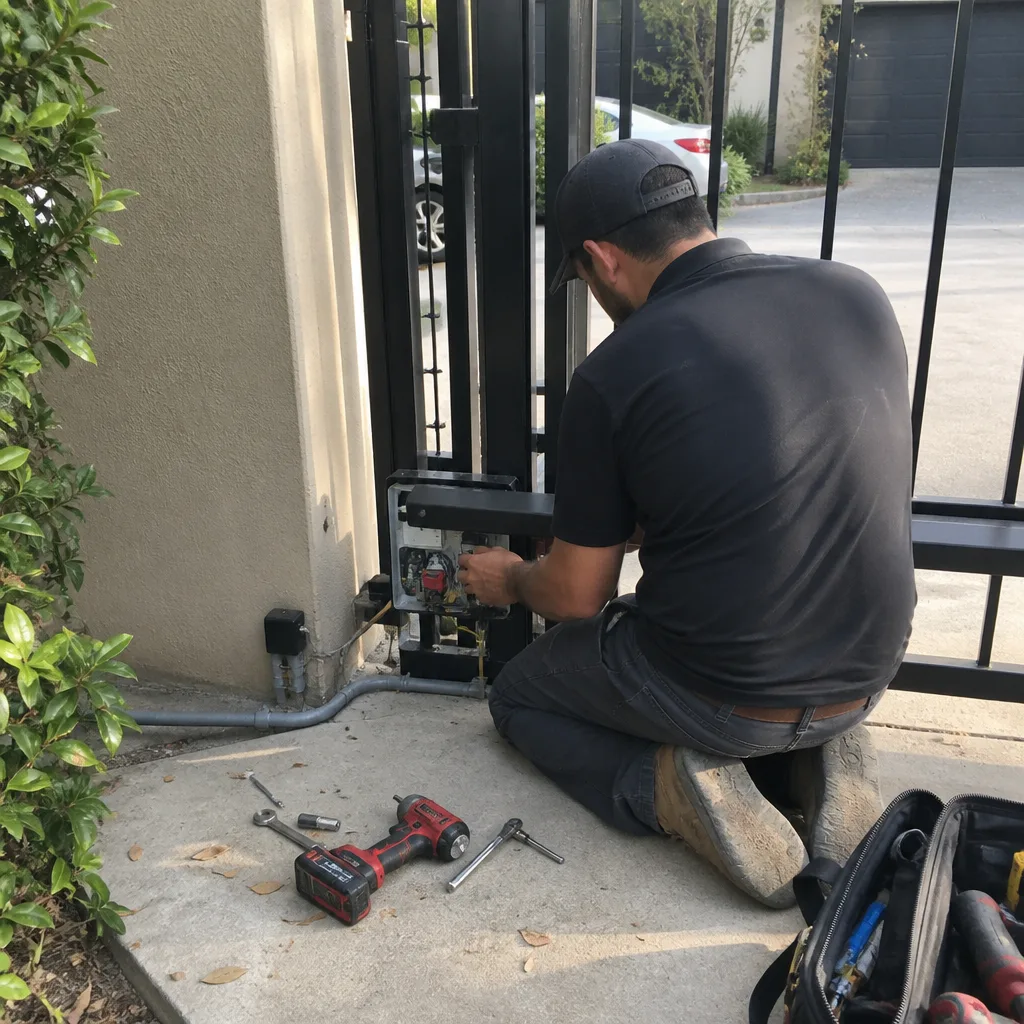 After
AfterThe Complete Guide to Gate Repair in Highland Park
A sagging wrought iron gate in Highland Park rarely fails where you think it does. The latch is almost never the problem - it’s just the last stop on a chain of failures that started somewhere quieter: a hinge post slowly leaning in clay soil, a weld seam giving way after fifteen years of Texas heat, a gate operator pushing against a frame that was never square to begin with. By the time the latch won’t catch, you’ve been watching the failure for six months without knowing it. This guide maps every common gate failure back to its actual origin so you stop paying for the same Gate Repair twice. We’re going to walk through what actually breaks, why it breaks in Highland Park specifically, and how to tell the difference between a $40 fix and a $4,000 foundation problem before anyone puts a wrench on your property.
Quick Answer
Gate repair in Highland Park typically costs $150 to $900 depending on whether the issue is a misaligned latch, a failing gate opener, or a structurally compromised post. Most functional repairs (hinges, latches, opener troubleshooting) can be completed same-day, while structural repairs involving post replacement or concrete work take one to two days. The single biggest determinant of cost is whether the post has moved - and in Highland Park’s clay-heavy soil, post movement causes roughly two-thirds of the gate failures we see. For a detailed breakdown, see our Gate Repair Cost Breakdown: The Highland Park Homeowner’s Reference for 2026.
Table of Contents
- The Three Root Causes Behind Most Highland Park Gate Failures
- Why Highland Park’s Clay Soil Destroys Gate Posts
- Cosmetic, Functional, or Structural: Knowing What You’re Actually Paying For
- What On-Site Welding Fixes That Bolt-On Hardware Cannot
- How to Document Your Gate’s Condition Before Calling Anyone
- When the Gate Opener Is the Real Culprit
- Repair or Replace? A Straight Answer for Highland Park Homeowners
- Common Mistakes to Avoid
- When to Call a Professional
- Frequently Asked Questions
- The Bottom Line
The Three Root Causes Behind Most Highland Park Gate Failures
Every gate failure we’ve fixed in Highland Park since 2001 traces back to one of three origins: the ground moved, the metal got tired, or somebody before us did sloppy work. When you understand which category your gate falls into, you understand what the repair should actually cost and how long it should last.
1. Foundation and Post Movement
Your gate hangs on its hinge post. The latch catches on the latch post. When either post shifts even half an inch out of plumb, the entire geometry of the gate changes. Latch plates that lined up perfectly for a decade suddenly miss by a quarter inch. Hinges bind. The gate scrapes concrete it never used to touch. In Highland Park, this is the dominant failure mode because the soil expands and contracts like an accordion through our wet-dry cycles. More on that in the next section, but the short version: if your gate was set in concrete without proper depth and drainage, the post was going to move eventually. It was never a question of if.
2. Hardware Fatigue
Hinges wear out. Bearings go dry. Wheels flatten. Latch springs lose tension. These are wear-and-tear items on any gate, and in Highland Park they fail faster than they would in a milder climate because our summer heat accelerates metal fatigue and our occasional freezes make cold metal brittle. Hardware fatigue is the cheapest and fastest category to fix - usually under $200 in parts and an hour or two of labor. But here’s the catch: if a hardware failure was caused by a post that moved, replacing the hardware only buys you a few months before the new hardware fails the same way.
3. Weld Failure
Wrought iron gates are welded together. Those welds are strong but not immortal. Years of opening and closing, thermal expansion, and the slow torque of a slightly-sagging frame will crack welds at the hinge points, the bottom rail, or where the pickets meet the top rail. A cracked weld doesn’t usually cause immediate failure - it causes a progressive wobble that gets worse until something finally lets go. The difference between a good weld repair and a bad one is that a good welder grinds the old weld out, preps the joint, and welds it hot enough to penetrate the parent metal. A sloppy welder just lays a bead over the rust and paint. One of those lasts twenty years. The other fails next season.
If you’re seeing symptoms but haven’t diagnosed the cause yet, gate repair in Highland Park starts with a free estimate - we’ll tell you exactly which category you’re in before you spend a dime.
Why Highland Park’s Clay Soil Destroys Gate Posts
This is the part that generic gate guides written for Arizona or California never mention, and it’s the reason your neighbor in Dallas gets ten years out of a gate while yours is listing after five. Highland Park sits on expansive clay - mostly Houston Black and Austin Chalk soils that swell when wet and shrink hard when dry. A post set in concrete that doesn’t extend below the active moisture zone is functionally a lever that the ground flexes every time we get a heavy rain followed by a dry spell.
Here’s what that cycle looks like in practice: a summer thunderstorm dumps two inches of rain in an hour. The clay around your post absorbs water and expands, pushing against the concrete footing from the side. Then August hits and we go six weeks without rain. The clay contracts, pulling away from the footing, and the post loses lateral support. Then the next storm re-wets the clay, it swells unevenly, and the post gets shoved a few millimeters off plumb. Repeat that cycle forty or fifty times over a decade and a post that started dead-level is now leaning enough that your gate won’t latch.
Soil-related post heave shows up in predictable ways on Highland Park properties:
- Gaps at the top hinge and binding at the bottom - the post is tipping outward at the top
- A gate that latched fine in July but won’t catch in January - the soil shrunk during the dry fall and the post settled
- Cracks in concrete walkways near the gate - the same soil movement that’s working on your post is working on your flatwork
- Hairline cracks running up the post’s concrete collar - the footing is being torqued beyond what the concrete can handle
Proper gate installation in Highland Park requires footings dug below the active moisture zone - usually 30 to 36 inches deep - plus a drainage base under the post so water doesn’t pool against the bottom of the steel. When you’re comparing estimates, ask the person quoting you exactly how deep they’re setting the posts. If they hesitate, hang up. Any gate contractor who works in this soil knows the answer without thinking.
Cosmetic, Functional, or Structural: Knowing What You’re Actually Paying For
Everyone who’s been burned by a gate repair was burned the same way: they paid structural money for a cosmetic job, or they paid for a cosmetic fix and got told six months later that the underlying problem was structural all along. The confusion between these three categories is where the money disappears.
Cosmetic Repairs
Rust spots on pickets. Peeling paint. Minor surface pitting on the bottom rail. These are appearance issues that have nothing to do with the gate’s ability to open, close, or keep anything out. A cosmetic repair is sanding and repainting rust spots, touching up scratches, or replacing a decorative finial that snapped. It matters, especially on a wrought iron gate that’s visible from the curb, but it’s inexpensive and it has no bearing on structural integrity.
Functional Repairs
A latch that doesn’t catch. A wheel that seized. A hinge pin that’s worn enough to cause slop. A keypad that stopped responding. An opener that reverses for no reason. Functional repairs restore the gate’s operation without touching the underlying structure. These are bread-and-butter jobs: fast, well-understood, and usually under $350. A functional repair is appropriate when the gate frame is still square, the posts are still plumb, and the failure is isolated to a moving part or a control component.
Structural Repairs
A post that’s moved. A frame that’s sagging. A bottom rail rusted through. A footing that cracked. These failures affect the gate’s ability to hold any repair you make at the functional level. You cannot fix a sagging gate by adjusting the latch - the latch is fine; the post behind it moved. You cannot fix a gate that drags by raising the hinges - the frame is racking. Structural repairs involve resetting or sleeving posts, welding frame members, pouring new footings, or re-hanging the gate entirely. They cost more and take longer, and they’re the only repair that actually stops the problem from coming back.
Here’s a simple test before you call anyone: open your gate halfway and look at the gap between the gate and the post at the top versus the bottom. If the gap is noticeably different, you have a structural issue, and no latch adjustment on earth fixes that. If the gap is even and the gate opens smoothly but the latch won’t cooperate, it’s almost certainly functional. If the gate works fine and you’ve just got rust and flaking paint, it’s cosmetic. Knowing which one you’re dealing with means nobody can talk you into a $4,000 foundation job when you need a $40 latch plate - or sell you a $40 latch plate when you need a reset post. For help deciding when to tackle issues yourself, read our DIY vs Professional Gate Repair: The Highland Park Homeowner’s Decision Guide.
What On-Site Welding Fixes That Bolt-On Hardware Cannot
Most gate companies don’t weld. They replace. It’s faster, it requires less skill, and it has a higher parts margin. The problem is that bolt-on hardware has a fundamental limitation: it holds things together, but it doesn’t restore structural continuity. A cracked hinge mount bolted to the side of a post transfers the gate’s entire weight through two bolts instead of through a continuous weld bead. It will hold for a while. Then the bolts wallow out their holes, the assembly loosens, and you’re back where you started with extra holes in your post.
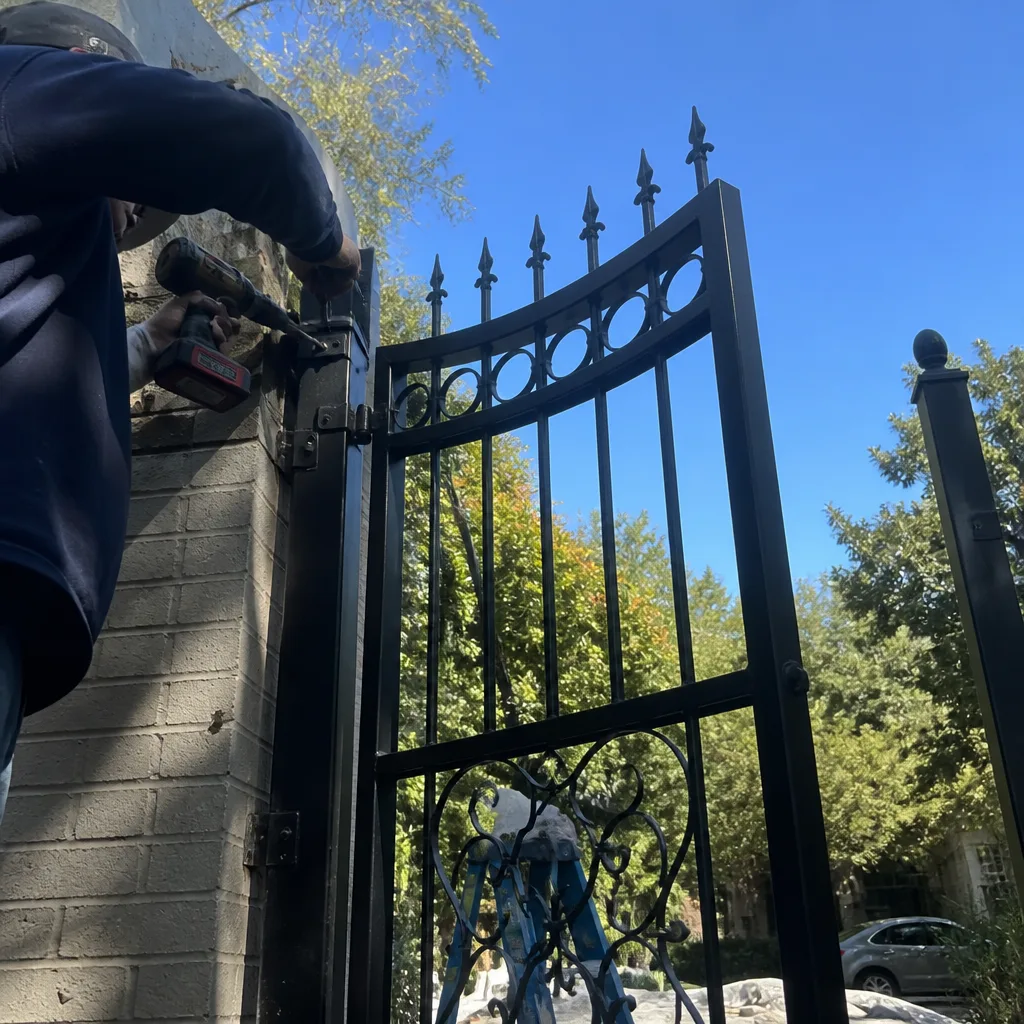
On-site welding changes the equation. Hal brings the welder to your driveway, grinds the failed weld back to clean parent metal, and lays a new bead that fuses the joint as one continuous piece of steel. The repair is as strong as the original fabrication - often stronger, because modern weld filler has a higher tensile strength than the original forge welds on older gates. On Highland Park properties with original 1980s and 1990s wrought iron gates, this is frequently the difference between keeping the gate and replacing it.
We’ve welded cracked top rails on BFT-equipped estate gates off Armstrong Avenue. We’ve rebuilt the bottom hinge mounts on a Viking opener-driven gate near the Dallas Country Club. We’ve spliced rusted-through posts without removing the gate from its hinges, because the gate was still true and the post was the only thing failing. Bolt-on brackets cannot do that work. They cover it up.
If you’d like a broader look at how we approach gate work from start to finish, the Gatewood Fence & Gate home page covers our full service area and who we are.
How to Document Your Gate’s Condition Before Calling Anyone
The best defense against a confusing estimate is knowing what you’re looking at before the phone call happens. You don’t need fencing knowledge. You need a phone camera and five minutes. Here’s what to capture, and what it tells the person on the other end of the line.
- Photograph the gate from straight on, from both sides. A sagging frame shows up better in a straight-on photo than in person, because the camera flattens the perspective and makes the racking obvious.
- Photograph the top hinge and the bottom hinge, close up. Look for gaps between the hinge leaf and the post, signs of wallowed-out screw holes, or fresh rust streaks that indicate movement.
- Photograph the latch plate and the latch bar from above. Note whether the latch sits centered in the plate or catches on one edge. A latch catching on the top edge means the gate is sagging at the latch end.
- Photograph the bottom rail at the point where it’s closest to the ground. Note any rust, any signs of scraping, any standing water contact.
- Photograph any concrete around the post. Fresh cracks, gaps between the concrete collar and the post, or soil pulling away from the footing are all documentation of post movement.
- Write down the exact behavior that prompted the call. “Won’t latch when it’s cold” is different from “won’t latch all the time” is different from “grinds when it opens.” The trigger pattern tells you more than the symptom.
Bring these photos to every estimate. A contractor who sees the photos and wants to come out anyway is normal - photos aren’t a substitute for putting hands on the gate. But a contractor who sees the photos and jumps straight to a quote over the phone without wanting to verify anything on site is someone you should be careful with. Gates lie. The ground underneath them lies more.
When the Gate Opener Is the Real Culprit
We get calls that start with “the gate won’t open” but end with a diagnosis that has nothing to do with the operator. And then we get the opposite: a gate that opens fine but eats opener gears because the manual operation drags. Here’s how to tell the difference before you replace an expensive component.
Disengage the opener - every opener has a manual release - and push the gate by hand. If it swings freely and feels balanced, the gate itself is fine and the problem is in the opener, the circuit board, the remote, or the safety sensors. If it drags, binds, or feels like you’re pushing through sand, the opener was working harder than it was designed to work, and that’s why it failed. Fix the gate first, then the opener.
When the opener genuinely is the problem, Highland Park homeowners typically see one of these:
- Remote works intermittently - most often a failing receiver board or a battery issue in the remote, but sometimes RF interference from a nearby transformer or a new neighbor’s wireless system
- Gate starts and reverses immediately - safety sensor misalignment or a worn obstruction sensor
- Gate opens but won’t close, or closes but won’t open - limit switch failure or control board damage
- Motor hums but doesn’t move - seized drive train, usually a failed gear or a capacitor failure
- Gate moves slowly and stops midway - dying capacitor, overheating motor, or a battery backup that’s no longer holding a charge
We service opener brands common across Highland Park and the surrounding area: BFT, Linear, Viking, and Ghost Controls among them. Parts availability varies by brand and model year - older BFT units are still repairable but some boards are getting scarce, while the current Linear lineup keeps good stock. If your opener is fifteen years old and the board has failed, there’s a real conversation to have about repair cost versus replacement with a current model. We’ll give you both numbers and let you decide.
For a deeper look at opener specifics, our gate motor and opener guide for Highland Park covers brands, troubleshooting, and replacement considerations in detail.
Repair or Replace? A Straight Answer for Highland Park Homeowners
We repair gates other companies want to replace. That’s not a slogan; it’s the founding reason this business exists. But we’ll also tell you plainly when replacement is the cheaper long-term choice, because there’s no honor in selling a repair that fails in eighteen months when a new gate would last twenty-five years.
Repair makes sense when:
- The frame is still square and the posts are still plumb - you’re fixing functional hardware or a localized weld failure
- The gate has sentimental or architectural value - a custom iron gate matching the home’s original facade is usually worth repairing
- The failure is isolated - one hinge, one latch, one control board
- The opener is less than ten years old and the gate moves freely by hand
Replacement makes sense when:
- The bottom rail is rusted through in multiple places, not just surface-rusted
- The posts have moved more than an inch and the footings are cracked
- The frame is racked beyond a point where welding new steel in makes geometric sense
- The repair costs would exceed 60-70% of a comparable-quality new installation
If you’re in repair-not-replace territory, know that the repair done properly will last. If you’re in replace territory, gate installation in Highland Park with proper depth, drainage, and square framing is the only way to avoid repeating the cycle. We do both, and we’ll tell you which one we’d choose if it were our house.
Common Mistakes to Avoid
- Adjusting the latch on a sagging gate. You can buy a month or two of latching by moving the latch plate down, but the gate keeps sagging and you’re just chasing it. The problem is the hinge post or the hinges, not the latch.
- Pouring more concrete around a leaning post. Fresh concrete around the base of an existing post doesn’t plumb the post - it just buries it deeper and makes the eventual proper repair more expensive. The post needs to be reset or sleeved, not entombed.
- Ignoring a gate that scrapes the ground. A gate that scrapes is a gate that’s already failing. Every cycle grinds metal off the bottom rail and adds strain to the hinges. The longer you wait, the more metal you lose.
- Replacing the opener before testing the gate by hand. If you disengage the opener and the gate drags, a new opener is going to fail the same way the old one did. Fix the drag first, then address the opener.
- Letting rust go for “one more season.” In Highland Park’s humidity, surface rust on a gate becomes through-rust faster than people expect. A $200 touch-up this year beats a $900 bottom rail replacement in three years.
- Hiring the cheapest bid without knowing what category of repair you’re being quoted for. Two quotes can both say “gate repair” and be $3,000 apart because one contractor is quoting a latch adjustment and the other is quoting a post reset. Know which category you’re in before you compare numbers.
When to Call a Professional
Call a professional the day you notice the latch catching differently than it used to. That’s the earliest reliable signal, and repairs caught at the functional stage cost a fraction of structural rebuilds. Call the same day if your gate won’t fully close - an open gate on a Highland Park property is a liability and a security gap no matter how quiet your street is. Call immediately if the gate opener makes any grinding, popping, or clicking noise that wasn’t there last month; opener failures escalate fast. If you’re not sure what you’re looking at, that’s fine - Gatewood Fence & Gate offers free estimates in Highland Park. Call (325) 936-1371 and describe what you’re seeing. We’ll tell you whether it warrants a visit and what to expect before you commit to anything.
Frequently Asked Questions
Most functional gate repairs in Highland Park run $150 to $350, including hinge replacement, latch adjustment, and wheel or roller fixes. Opener repairs run $200 to $600 depending on whether the fix is a sensor, capacitor, or control board. Structural repairs like resetting a post or welding a cracked frame run $500 to $1,500 depending on scope. Every quote is agreed in writing before work starts, so the number you approve is the number you pay. Call (325) 936-1371 for a free estimate.
For functional repairs like latch, hinge, or wheel failures, yes - we keep common parts on the truck and most of these jobs are done in one visit. Opener troubleshooting is usually same-day as well. Structural repairs involving concrete work take longer because the new footing needs to cure before the gate gets re-hung. Call early in the morning and ask what’s realistic for your specific issue.
If the frame is still square and the posts are still plumb, your gate can almost always be repaired. If the posts have moved or the bottom rail is rusted through, repair is possible but replacement may be the better long-term value. We’ll give you both numbers and a straight recommendation.
We service BFT, Linear, Viking, Ghost Controls, LiftMaster, FAAC, DoorKing, Elite, and Mighty Mule. That covers the vast majority of openers installed on Highland Park properties over the last twenty-five years.
Cold weather makes metal contract, which tightens clearances throughout the gate. A hinge or latch plate that’s toleranced fine in July can bind in January when the steel shrinks. In Highland Park’s clay soil, winter also means dry soil that allows slight post settling. Both effects stack during cold snaps, which is why January is our busiest month for latch-catch complaints.
Every job carries the 90-Day Done Right Promise in writing: if it’s not done right, we make it right. That’s not a marketing phrase - it’s stamped on the invoice. You also get a permanent 10% discount if you’re a senior or veteran, and a free second opinion on any written estimate you’ve gotten from another company.
The Bottom Line
A gate fails from the ground up, not the latch down. In Highland Park, where clay soil heaves and shrinks through every season cycle, the most common gate failures trace back to post movement, and no amount of latch adjustment or hinge tightening fixes a post that’s no longer plumb. Know which category your failure falls into - cosmetic, functional, or structural - before you compare estimates. Document your gate’s condition with photos. Test your gate by hand before replacing an opener. And when you need a fix, call someone who welds on site, stands behind the work, and answers the phone. Explore our more guides & resources to keep your gate running right.
Written by Hal Gatewood, Owner at Gatewood Fence & Gate, serving Highland Park since 2001.