
Last updated August 26, 2026
Free on-site gate assessment - hinges, posts, and your LiftMaster or Nice gate operator checked before anything is quoted
The assessment is free and the quote is the invoice.
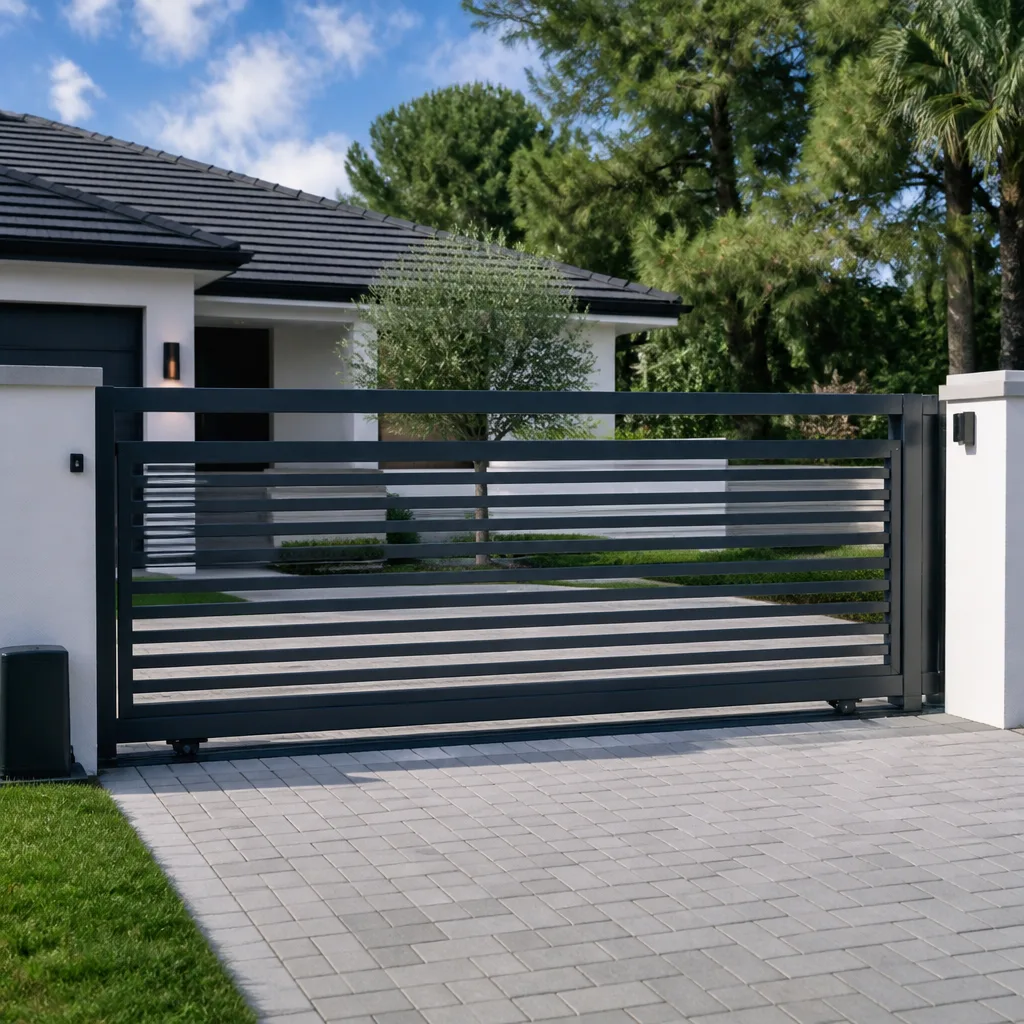
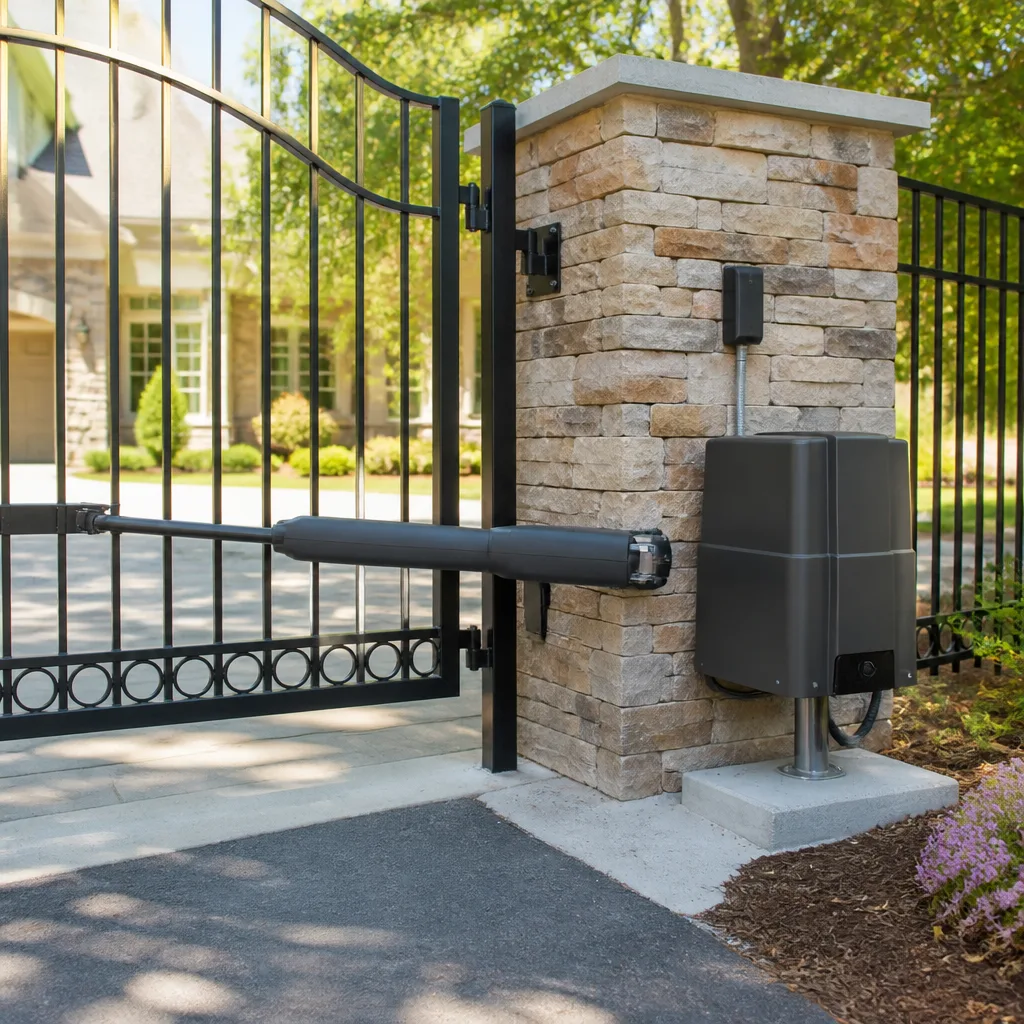
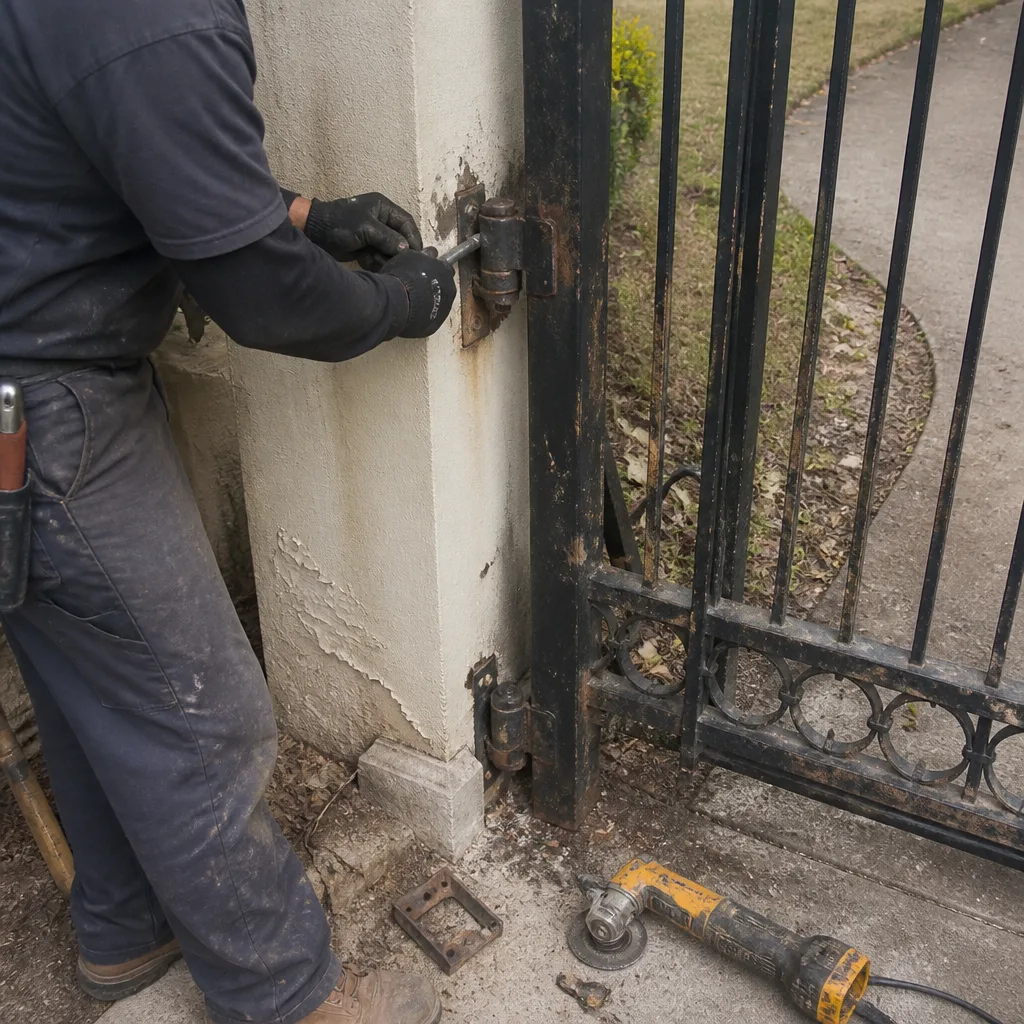 Before
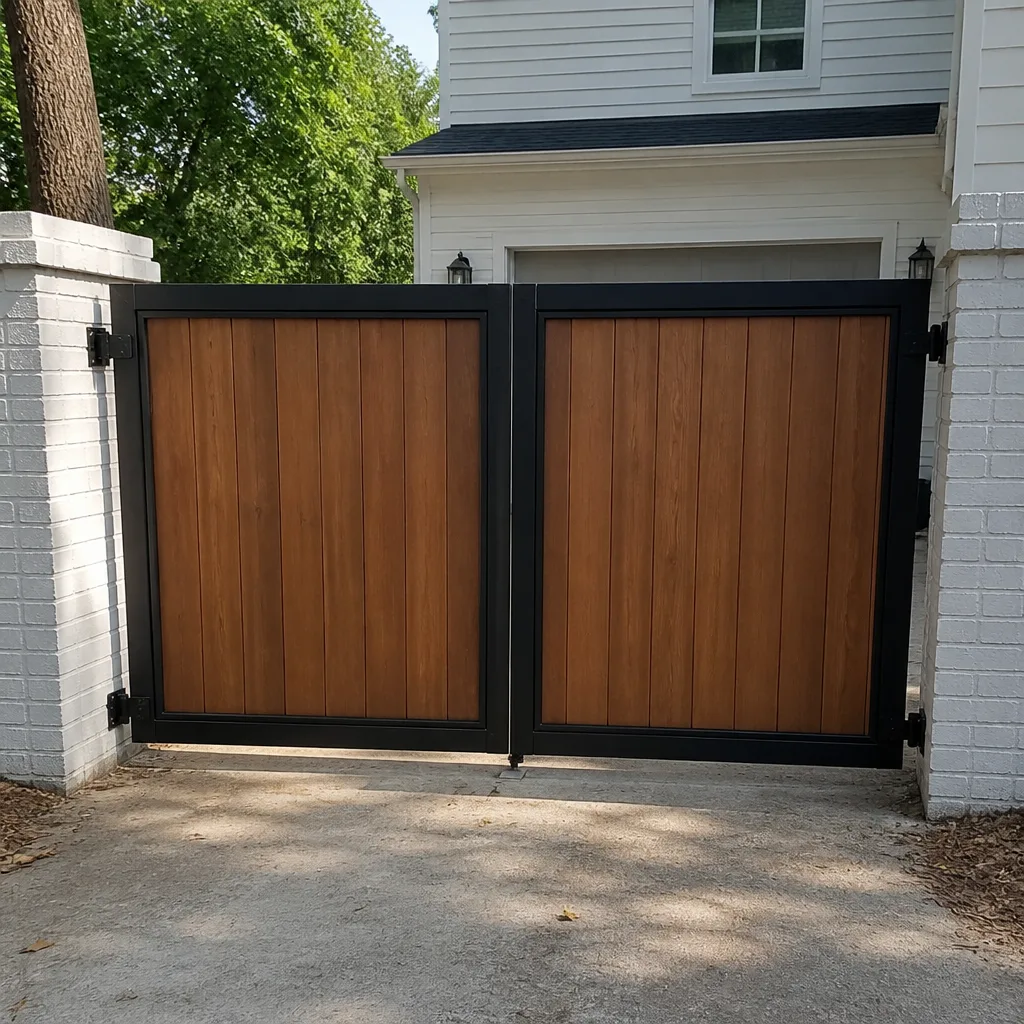 After
After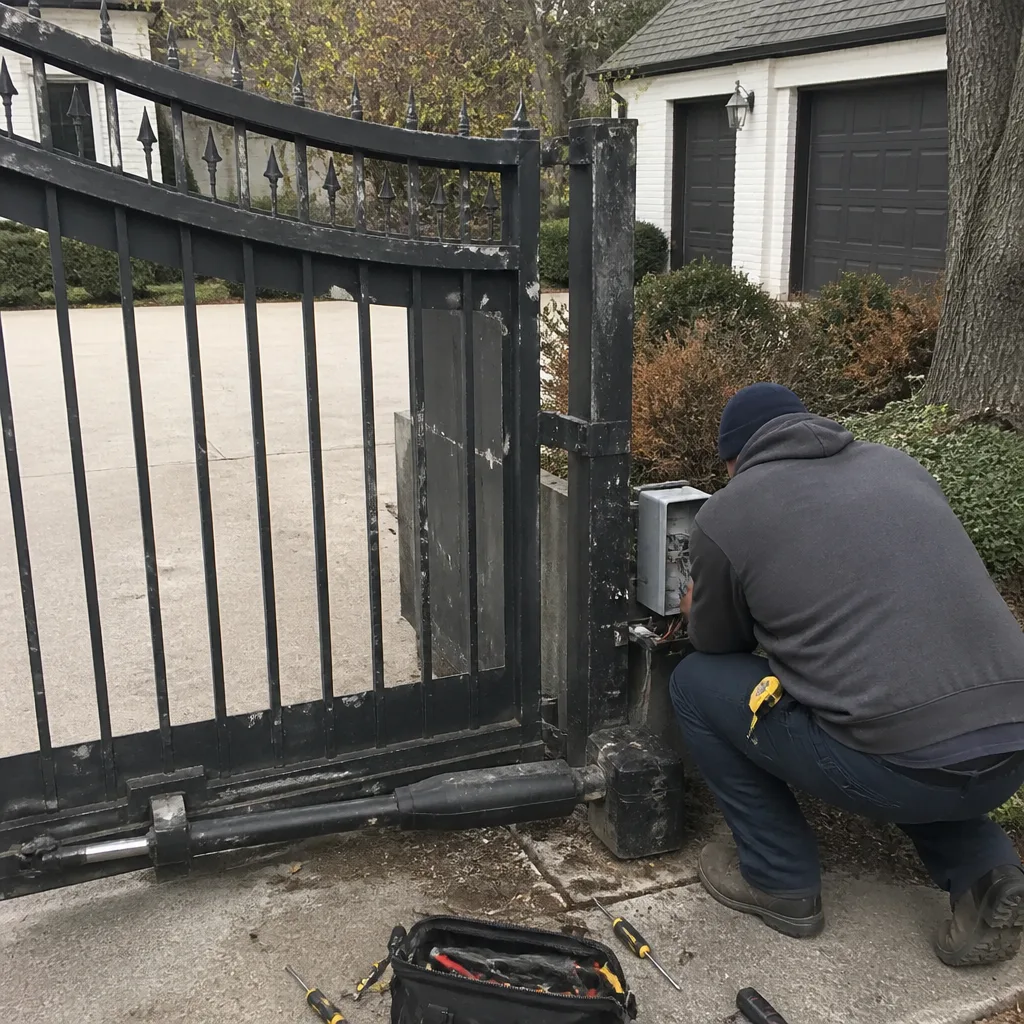 Before
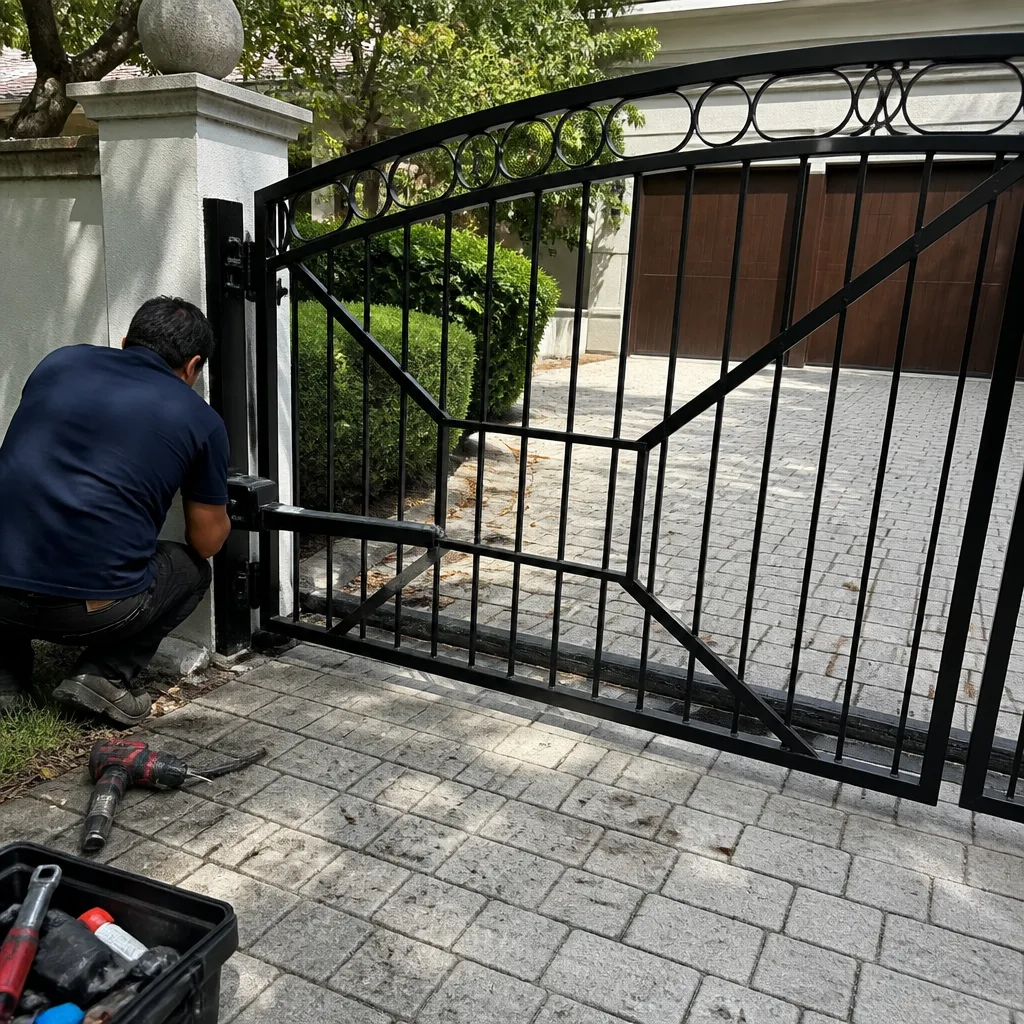 After
After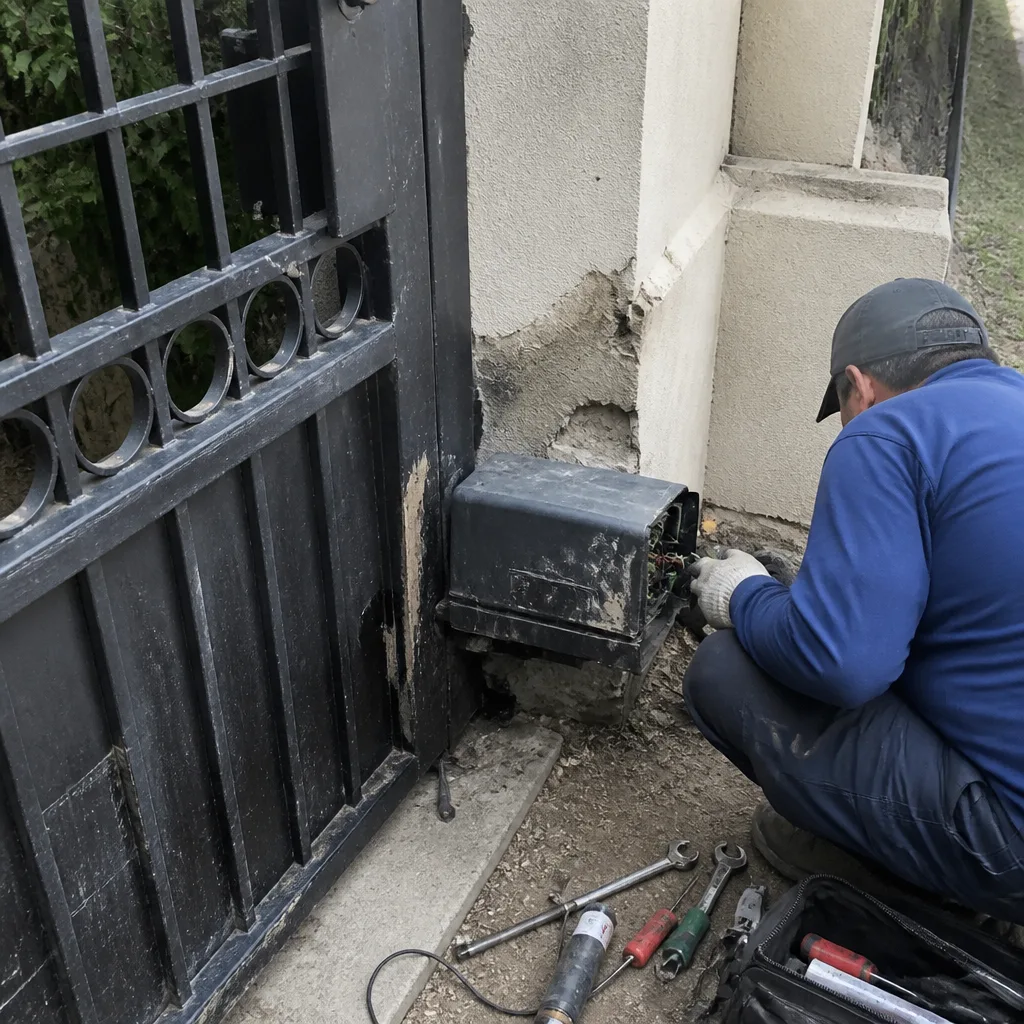 Before
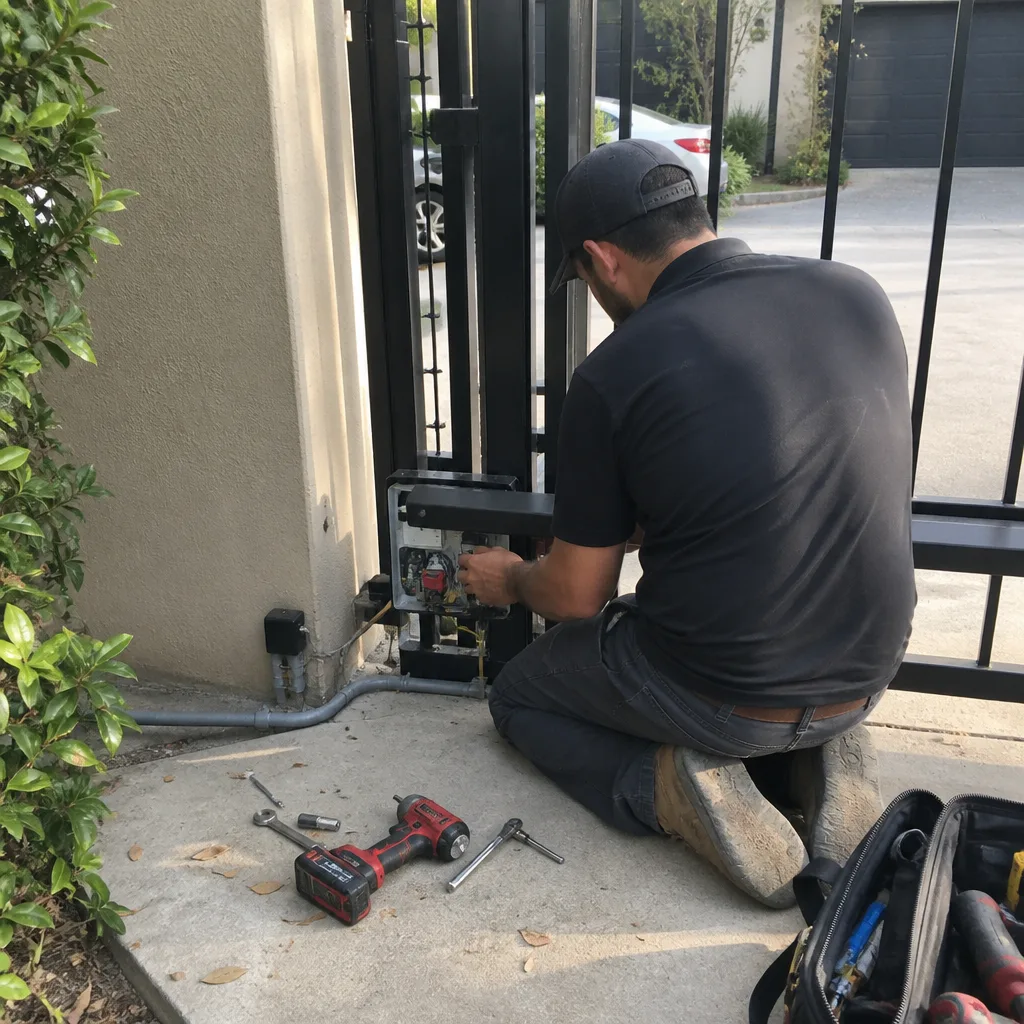 After
AfterGate Repair Maintenance Checklist for Highland Park Homeowners
After more than two decades of fixing gates across Highland Park, the most common thing I find on a neglected gate isn’t rust or a dead motor. It’s a perfectly lubricated hinge on a post that’s already leaning a quarter inch. Somebody did the easy thing and missed the thing that mattered. This guide is built around the order in which gate components actually fail, so you catch the cheap problem before it becomes the expensive one. Fifteen minutes twice a year spent in the right sequence beats an hour of random oiling and hoping.
Quick Answer
A proper gate maintenance checklist for Highland Park homeowners should follow the order components actually fail: post and anchor first, frame and welds second, hardware third, operator and electrics fourth, finish last. Inspect your gate twice a year using a simple pass/monitor/call triage system, and spray the right lubricant on the right part. Most expensive gate failures in Highland Park start as a quarter-inch lean in the post or a hairline crack in the concrete collar months before the gate actually stops working. If you spot these early, our Gate Repair services can usually fix the post before full replacement is needed.
Table of Contents
- Why the Order of Inspection Matters More Than the Inspection Itself
- Step 1: Post and Anchor Inspection (The Foundation Everything Hangs On)
- Step 2: Frame and Weld Inspection (Where Highland Park Climate Does Its Dirty Work)
- Step 3: Hardware Check (Hinges, Latches, and the Parts That Move)
- Step 4: Operator and Electronics (What to Lubricate and What to Leave Alone)
- Step 5: Finish and Surface Inspection (Paint, Rust, and the Four Warning Signs)
- The Pass / Monitor / Call Triage System
- What to Photograph Before Someone Shows Up
Why the Order of Inspection Matters More Than the Inspection Itself
Every gate maintenance guide tells you to check things. Almost none tells you in what order, and the order is the whole ballgame. A gate is a chain of dependency: the post holds the frame, the frame holds the hardware, the hardware moves the gate, the operator moves the hardware. When you inspect in that same order, you find the root cause. When you inspect backwards, you polish a hinge that’s only stiff because the post it’s mounted to has already moved.
Here’s the sequence we use on every gate we service in Highland Park:
- Post and anchor - the vertical steel or wood member set in concrete. If this moves, everything else is compensating.
- Frame and welds - the structural body of the gate itself. Cracks here mean the gate is working against itself.
- Hardware - hinges, latch, roller guides, track wheels. These wear predictably and are cheap to replace early.
- Operator and electronics - motor, control board, remote receiver, safety sensors. Last in line because a good operator on a bad post is still a bad gate.
- Finish - paint, powder coat, sealant. Cosmetic until it isn’t; bare steel in Highland Park humidity starts rusting within weeks.
Fifteen minutes, five steps, done in that order. Skip step one and you’ll fix the same gate twice. Fix the panel without the post and you’ll fix it twice.
Step 1: Post and Anchor Inspection (The Foundation Everything Hangs On)
A gate sags in the hinge post, not in the middle of the panel. That’s the first thing I tell every homeowner who calls about a dragging gate. The panel is rigid steel or wood; it doesn’t bend on its own. When a gate starts scraping the driveway or leaving a wider gap at the top, the post has moved. This is where every maintenance check has to start.
What to look for on the post and anchor:
- Lean angle - stand back ten feet and sight down the post against the fence line. Any visible lean of more than a quarter inch means the post is moving. It won’t fix itself.
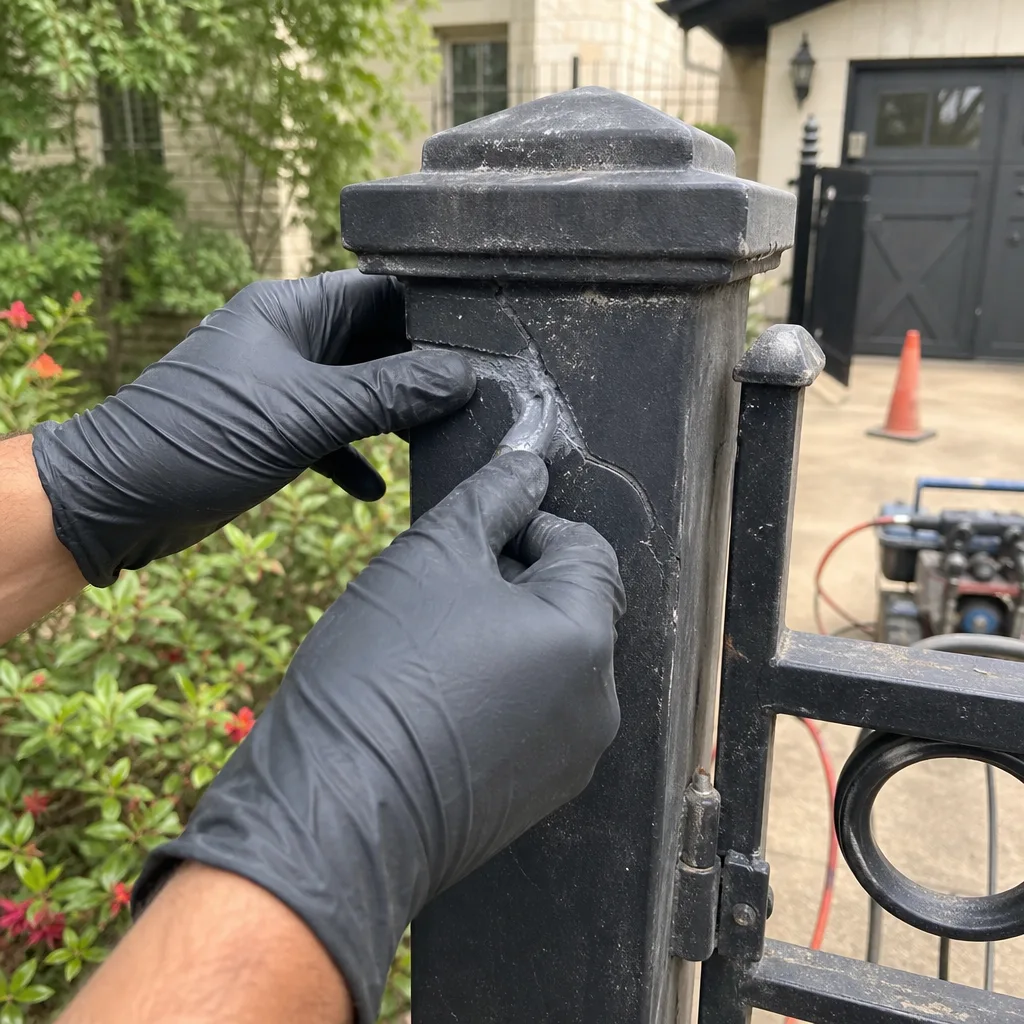
- Concrete collar cracks - the concrete poured around the post base should be solid, not fractured. Hairline cracks radiating from the post mean water is getting in and freezing cycles are working on it. In Highland Park, where we get real freezes every winter, a crack that holds water becomes a crack that spreads.
- Gap at the base - if you can see daylight between the post and the concrete collar, or if the post wobbles when you push on it with one hand, the anchor has failed.
- Rust at grade level - where the post meets the concrete is where moisture sits longest. This is the classic failure point on older Highland Park gates. Poke at any rust blister with a screwdriver. If it goes through, the post needs attention this season, not next year.
Why order matters here: a leaning post is the root cause behind a stiff hinge, a misaligned latch, a dragging gate wheel, and an overloaded opener motor. Lubricating any of those downstream parts without fixing the post is like putting a fresh bandage on an infection. The gate feels better for a week and then the real problem shows itself again.
Step 2: Frame and Weld Inspection (Where Highland Park Climate Does Its Dirty Work)
Once the post passes, walk the frame. This is the structural skeleton of the gate, and in Highland Park’s heat-and-humidity cycle with regular winter freezes, it’s where steel shows its age first. Thermal expansion and contraction work welds loose over time the same way they work nails out of a deck board.
What to check on the frame:
- Weld points at the corners - every corner of a steel gate frame is welded. Look for hairline cracks running along the weld or through the adjacent steel. These are stress risers. A crack a half-inch long today is a broken corner frame next spring.
- Paint bubbling at welds - this is the earliest visual warning in Highland Park’s climate. Moisture gets trapped at the weld’s micro-crevices and lifts the paint from underneath. Bubbled paint over a weld means corrosion has already started underneath.
- Diagonal bracing - most solid gates have a diagonal brace from bottom hinge side to top latch side. Check that brace’s weld points. That’s the member carrying the gate’s weight when it’s open, and its failure is what causes the classic “gate dropping when open” symptom.
- Bottom rail deflection - the bottom rail takes the most abuse from water splash and ground contact. Run your hand along the underside; any flaking, delamination, or soft spots need addressing.
We’ve welded hundreds of these frames back together in driveways across Highland Park. Most of them showed warning signs for a full year before the homeowner called. The welds don’t fail silently; they crack, rust, and groan first. The trick is looking at them before they get to the groaning stage.
Step 3: Hardware Check (Hinges, Latches, and the Parts That Move)
Hardware wears out because it moves. That’s its job, and it’s the part of the gate system designed to be replaced. Hinges, rollers, track wheels, and latch components are consumable, and treating them as such saves you from treating the post and frame as consumable, which they are not.
Here’s the hardware inspection list, in the order things typically wear on Highland Park gates:
- Hinge barrels - the cylinder the hinge pin runs through. Look for rust dust leaking from the barrel. That orange powder is ground steel mixing with old grease, and it means the pin is wearing the barrel. Replace the hinge before the barrel wall gets thin.
- Hinge pin play - with the gate in the closed position, lift up on the latch end. Any vertical movement at the hinge means the pin or barrel is worn. A quarter inch of play at the hinge translates to three inches of sag at the latch end of a ten-foot gate.
- Roller guides and track wheels - if your gate runs on a track or has a guide wheel at the open end, check the wheel’s bearing. Spin it by hand; it should roll smooth and quiet. A wheel that’s stopped rolling and started sliding is filing itself flat and carving a groove in your track or driveway.
- Latch and strike alignment - close the gate slowly and watch how the latch meets the strike plate. If the latch has to climb or scrape to seat, something upstream has moved. That’s usually the post, which is why we did Step 1 first.
- Fastener tightness - give every visible bolt a quick check with a wrench. Vibration from daily cycling loosens fasteners over years. A loose hinge bolt in a steel post will wallow out its hole, and then you’re welding or re-drilling instead of re-tightening.
On lubrication for hardware: use a spray lithium grease or a heavy-duty synthetic grease on hinge pins and roller bearings. Not WD-40. WD-40 is a water displacer and light solvent; it washes out the grease that’s already in there and leaves the metal nearly dry. We’ll get into this more in the operator section, because the damage is worse there.
Step 4: Operator and Electronics (What to Lubricate and What to Leave Alone)
The operator is the motor and control unit that moves your gate. In Highland Park, we see more operator failures from well-meaning maintenance than from neglect. People spray the wrong thing on the wrong part, or they spray the right thing where no spray belongs at all.
Here’s the operator inspection and maintenance sequence:
- Disconnect the operator and cycle the gate by hand - most gate operators have a manual release. Pull it, then push the gate through its full travel open and closed. It should move smoothly with no binding, scraping, or hard spots. If it doesn’t, the problem is in the gate, not the operator. A binding gate makes the motor work harder, overheat, and die early. This step catches that before it becomes a $900 motor replacement.
- Check the drive mechanism - if it’s a chain drive, check chain tension: about a half-inch of deflection in the middle of the span. If it’s a belt drive, look for cracking or glazing on the belt. If it’s an arm actuator, check the arm’s pivot joints for slop.
- Test the safety sensors - place an object (a cardboard box works fine) in the path of the closing gate. The gate should reverse or stop immediately. If it doesn’t, that’s not a maintenance issue, that’s a safety issue, and it needs addressing before the next cycle.
- Check the control board for signs of pest ingress - ants, spiders, and mud daubers love the warm, dry interior of a gate operator housing. Highland Park has all three in abundance. A board covered in ant carcasses or wasp nests is a shorted board waiting to happen. Blow it out gently with compressed air.
- Battery backup check - if your operator has a battery backup (models from Linear and DoorKing commonly do, and Ghost Controls builds it into most of their units), disconnect from wall power and cycle the gate. A battery that won’t hold a full cycle needs replacing before the power goes out for real.
What to lubricate on the operator: the chain, if it’s a chain drive, with a light machine oil or dedicated chain lube. The arm pivot points with spray lithium grease. What not to lubricate: anything plastic on the control board, the belt if it’s a belt drive, and never spray WD-40 into the operator housing. The solvent in WD-40 will damage the plastic gears and rollers inside many operator units - Viking and Linear both specifically warn against petroleum-based spray lubricants on their operator internals. If you are unsure what your operator needs, call someone who services it regularly. This is one place where guessing costs real money.
Step 5: Finish and Surface Inspection (Paint, Rust, and the Four Warning Signs)
Finish work is more than curb appeal. In Highland Park, where summer humidity sits above sixty percent and winter brings freeze-thaw cycles, bare steel rusts fast. The paint is the gate’s skin, and a break in the skin lets infection start. Your finish inspection is checking for the four specific warning signs that predict failure three to six months out.
Here are the four signs we tell every Highland Park homeowner to watch for, in order of urgency:
- Paint bubbling at weld points - we covered this in the frame section, but it bears repeating. Bubbled paint at a weld is the earliest reliable indicator that corrosion has started under the surface. Address it now with a wire brush and touch-up paint, and you’ve spent fifteen minutes. Wait six months, and you’re grinding out pitted steel.
- Gate-to-post gap changes - measure the gap between the gate and the hinge post at three points: top, middle, bottom. Write the measurements down. If they change by more than an eighth of an inch between inspections, something is moving. Usually it’s the post settling or the hinge wearing. Either way, the earlier you catch it, the cheaper the fix.
- Hinge barrel rust - this is the orange dust we mentioned in the hardware section. It means the hinge is wearing from the inside. Hinges are a forty-dollar part. The post and frame damage you get from ignoring a failing hinge is a four-hundred-dollar repair.
- Concrete collar cracking - the concrete around the post base cracking, spalling, or separating from the post itself. In Highland Park’s clay-heavy soil, which expands when wet and contracts when dry, post foundations take more movement than most people realize. A small crack is normal. A crack that widens between inspections is not.
For touch-up work, use a rust-converting primer on any bare metal, then a matching enamel or powder-coat touch-up. Don’t just spray paint over rust; you’ll seal the moisture in and accelerate the problem. A wire brush, a can of rust converter, and ten minutes of effort once a year will add years to the gate’s life.
The Pass / Monitor / Call Triage System
The most common mistake in gate maintenance isn’t neglect. It’s overreacting to normal wear and under-reacting to structural movement. Homeowners either ignore a leaning post for two years because the gate still opens, or they call us in a panic because a hinge has some surface rust. A simple triage system fixes both. Here’s how to grade what you find on your inspection.
- PASS - surface rust that wipes off with a rag, uniform gate-to-post gaps, no lean, no play in hinges, sensors reverse properly, paint intact. This is normal. Touch up as needed, note it, move on.
- MONITOR - a paint bubble over a weld that’s smaller than a dime, a hinge pin with just detectable play, a concrete hairline crack that hasn’t changed since last check, a chain that needs tension but isn’t loose enough to skip. These are not emergencies, but they are not nothing. Put them on the next inspection list and check for change. A problem that changes between inspections is a problem that needs action.
- CALL SOMEONE - a post that leans visibly, a gap difference of more than a quarter inch between inspections, a hinge with visible movement when the gate is lifted, a weld crack that’s growing, a safety sensor that fails the box test, a gate that binds hard when cycled by hand, or an operator that starts and then stops. These are the things that get worse fast and more expensive the longer they’re left.
The genius of this system is that it gives you permission to not panic about the small stuff while making absolutely clear when the big stuff needs a phone call. Most Highland Park gates we see at the MONITOR stage can be watched for a season. The ones at the CALL stage never get cheaper by waiting.
What to Photograph Before Someone Shows Up
If something on your gate lands in the CALL category, take five minutes to photograph it before you call a repair contractor. Good photos save you money, save the contractor a trip, and most importantly, they get you a more accurate quote over the phone. Here’s what to shoot.
Take these five photographs, in this order:
- The overall gate from ten feet back - full gate, both posts, closed position. This shows the whole geometry, lean, sag, and alignment at a glance.
- The hinge post from the side - close enough to show the post, the concrete collar, and the first foot of ground. This is the money shot for diagnosing lean and anchor issues.
- The problem area close-up - the crack, the rust, the gap, the failed wheel. Hold a coin or a pen in the frame for scale. It sounds trivial, but a crack photographed next to a quarter tells us in one second whether it’s a surface scratch or a structural split.
- The operator unit - one wide shot of the whole operator mounted on the gate or post, and one close-up of the make and model label. A Ghost Controls unit has different internals than a DoorKing, and knowing which one we’re dealing with before we head out changes what parts go in the truck.
- The latch and strike from eye level - closed position, showing how the latch meets the strike. If there’s a misalignment, this photo documents exactly how far and in which direction.
With those five photos, a gate repair contractor in Highland Park can usually diagnose the issue and give you a working estimate before anyone sets foot on your property. It’s the difference between a thirty-second phone call and a diagnostic visit. We ask for exactly these photos when homeowners call, and it works as well for a broken gate motor or opener in Highland Park as it does for a sagging hinge. If you have photos from past inspections, keep them in a folder on your phone. That baseline comparison is worth its weight in diagnostic time when something changes.
Common Mistakes to Avoid
After twenty-nine years of fixing gates in and around Highland Park, I’ve developed a mental list of the things homeowners do with good intentions that end up costing them real money. Here are the seven most common, and how to avoid them.
- Lubricating without inspecting first - the hinge that got sprayed with lithium grease in March is the same hinge mounted to a post that fell out of plumb in February. Grease conceals, inspection reveals. Always inspect first, lubricate second.
- Using WD-40 on gate operators - this is the single most common cause of operator damage we see. The solvent base melts plastic bushings and strips what little factory grease is in there. If it says WD-40 on the can, it does not go anywhere near the operator internals.
- Ignoring a small lean because the gate still works - a post doesn’t stop leaning when it reaches some natural limit. It keeps moving until the gate won’t latch, then until it won’t open, then until the operator burns out trying. The cheapest day to fix a leaning post was the day you noticed it.
- Painting over rust without treating it - rust is a living process, not a surface stain. Lay paint directly over it and the oxidation continues underneath. You’ll see the bubble re-form within a season. Wire brush, rust converter, then paint. In that order, every time.
- Waiting until the gate fails completely before calling - most of the gates we replace outright are gates that could have been repaired six months earlier for a quarter of the cost. The CALL category in the triage system exists for a reason. Use it.
- Buying replacement parts by guesswork - a hinge off Amazon that looks “close enough” isn’t close enough. Wrong steel grade, wrong pin diameter, wrong load rating. It fails fast and takes the post with it. If you’re not sure what part you need, send the photos first.
- Skipping the manual release test - if you’ve never pulled the manual release on your operator, you don’t actually know if you could open the gate in a power outage. Test it once a season. It takes thirty seconds, and it’s the difference between a working gate and a trapped car when the next storm knocks out power.
When to Call a Professional
Some things on this checklist are DIY-friendly: wiping down hardware, photographing problem areas, testing sensors, even touching up paint. Others are not. If your post is visibly leaning, call someone. If a weld is cracked, call someone. If the operator is making a grinding noise, popping a breaker, or failing the sensor test, call someone. These are not maintenance items anymore; they’re repair items, and they don’t improve with time or YouTube tutorials.
High-tension gate springs and cables under load can cause serious injury if they let go during adjustment. Don’t attempt that work yourself. Gatewood Fence & Gate offers gate installation and replacement in Highland Park when a gate is beyond saving, plus free estimates on all repair work. Call (325) 936-1371 and a live person answers, day or night.
Frequently Asked Questions
Twice a year is right for Highland Park’s climate, once in early spring and once in late fall. The spring check catches winter freeze-thaw damage and the fall check prepares the gate for the cold cycle and catches any summer heat expansion issues. Each inspection takes fifteen minutes using the sequence in this guide.
The four earliest warning signs in Highland Park are paint bubbling at weld points, a change in the gate-to-post gap, rust dust leaking from hinge barrels, and concrete collar cracking around the post base. Any one of these means the gate is telling you something, and the sooner you listen, the cheaper the fix.
Yes, but only the chain or the arm pivot points, and only with the correct lubricant. Never spray any petroleum-based product like WD-40 inside an operator housing, on a belt drive, or on control board components. The wrong spray on a Linear or Ghost Controls unit can ruin plastic internals in a single application. When in doubt, call a professional who services the brand.
Most residential gate repairs in Highland Park run from $150 for a simple hinge replacement up to $1,200 or more for a full post reset with new concrete work. A typical weld repair on a cracked frame runs $200 to $400. Hourly rates in the Highland Park market typically range from $85 to $125. Gatewood Fence & Gate quotes every price upfront before work starts. Call (325) 936-1371 for a free estimate.
No. Most leaning posts can be re-set, re-plumbed, and re-anchored without replacement, especially if you catch the lean before the concrete collar has completely failed. The repair involves excavating around the base, re-plumbing the post, and re-pouring with a larger concrete collar. Delaying makes the problem harder to fix, but early intervention usually saves the original post.
Take five photos: overall gate from ten feet back, hinge post from the side, problem area close-up with a coin or pen for scale, operator unit with the make and model label visible, and the latch and strike from eye level in the closed position. Those five images let a contractor diagnose most issues and give an accurate estimate without a diagnostic visit. Call Gatewood Fence & Gate at (325) 936-1371 and we’ll tell you exactly what to shoot.
The Bottom Line
A gate isn’t complicated, but it is unforgiving. It fails in a predictable order - post, frame, hardware, operator, finish - and the homeowners who understand that order catch problems when they’re cheap. The ones who don’t end up replacing a gate that could have been repaired for a fraction of the cost. Fifteen minutes twice a year, done in sequence, using the pass/monitor/call system, with five photos on file. For more guides & resources on keeping your gate in top shape, explore our blog. That’s the whole system. If you find something in the CALL category, get it addressed this season, not the next one. Gates don’t heal themselves, and the clock starts ticking the moment the first crack appears.
Written by Hal Gatewood, Owner at Gatewood Fence & Gate, serving Highland Park since 2001.