
Last updated August 26, 2026
Free on-site gate assessment - hinges, posts, and your LiftMaster or Nice gate operator checked before anything is quoted
The assessment is free and the quote is the invoice.
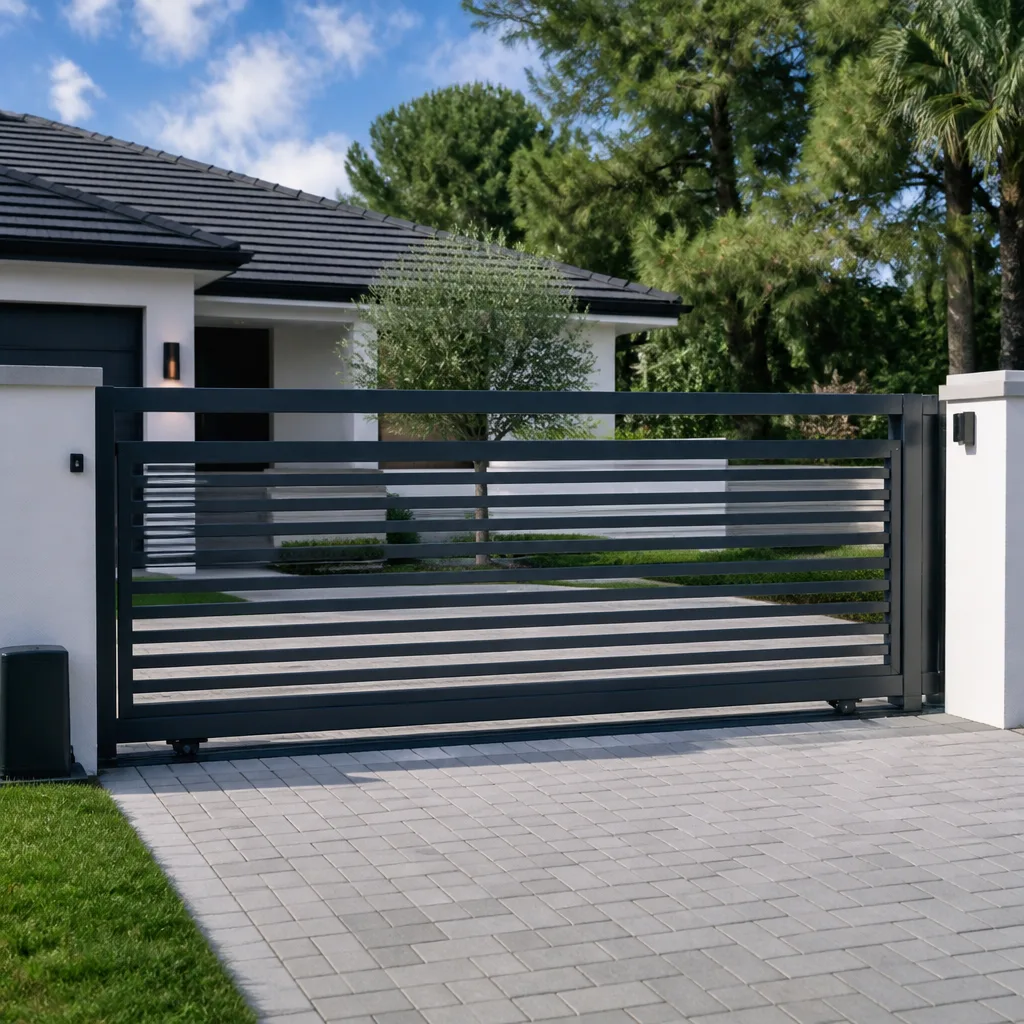
 Before
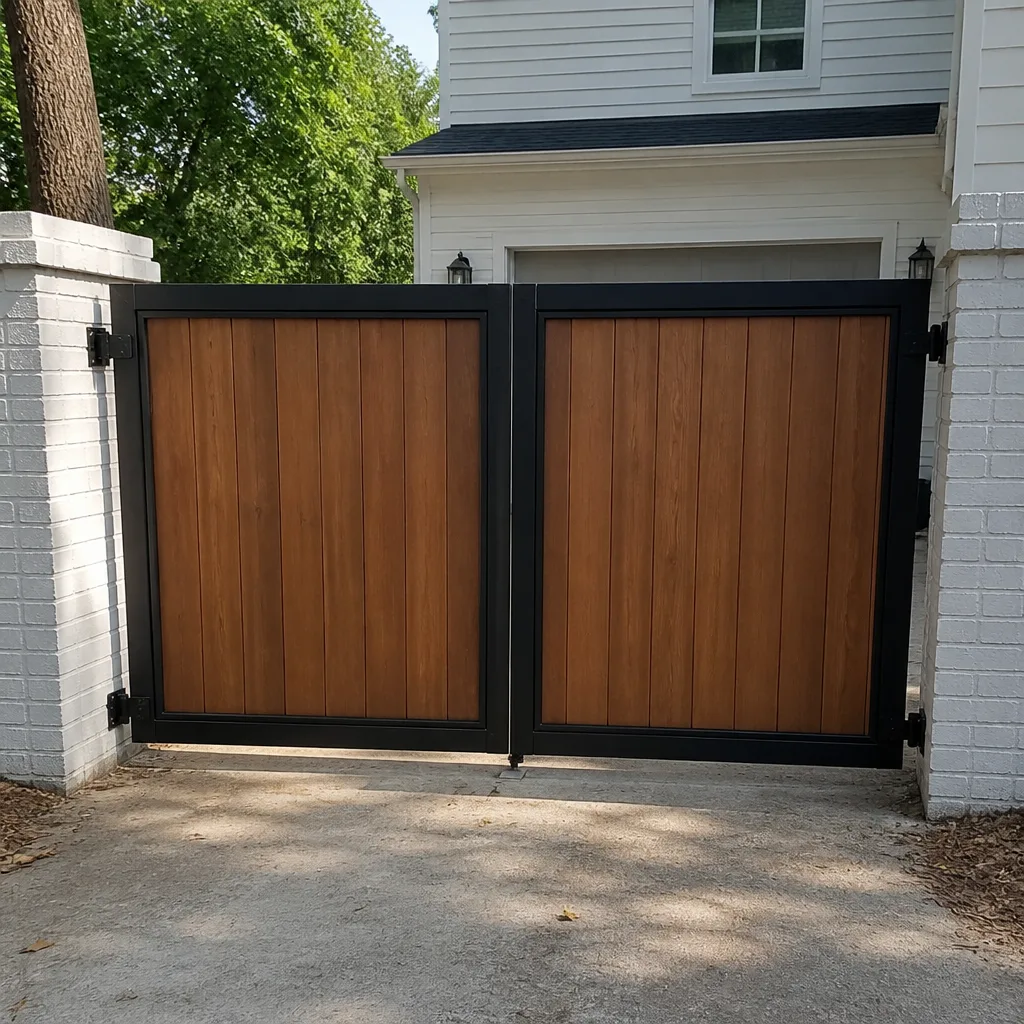 After
After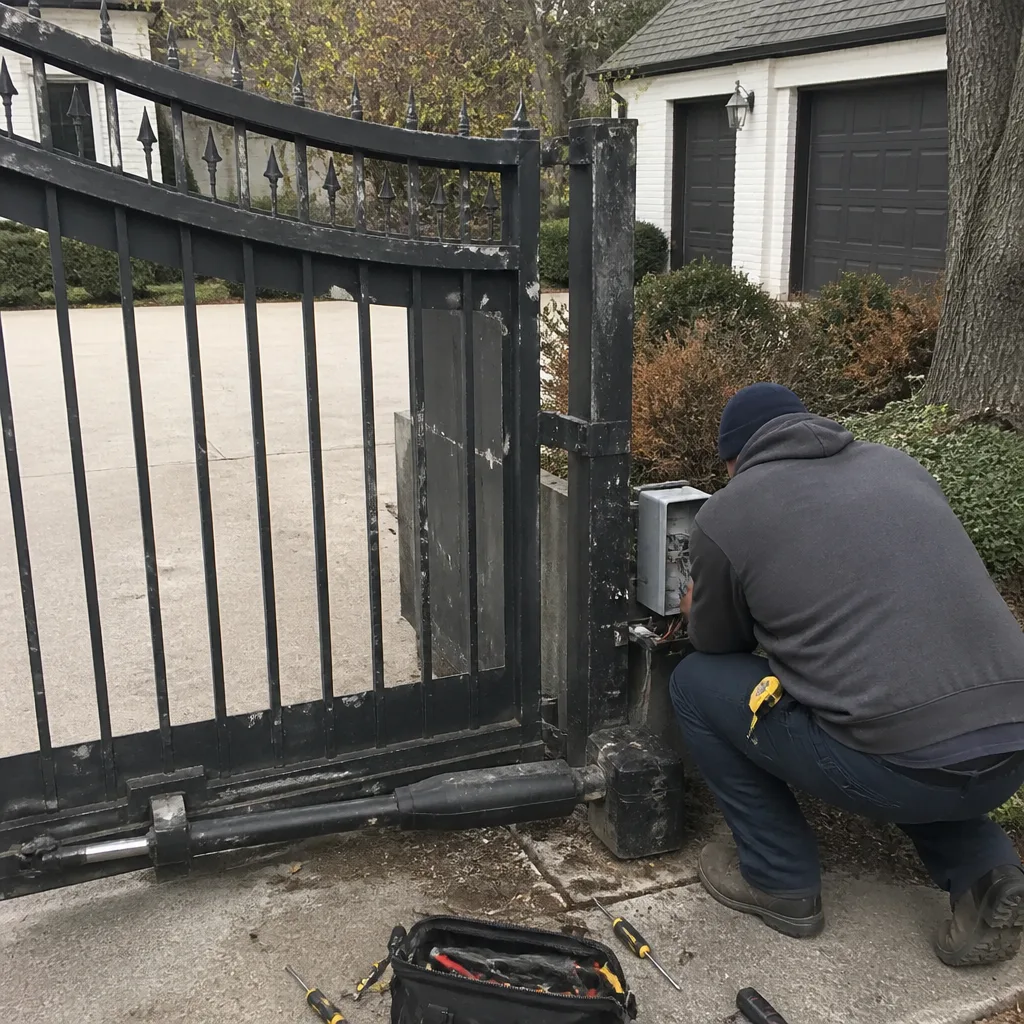 Before
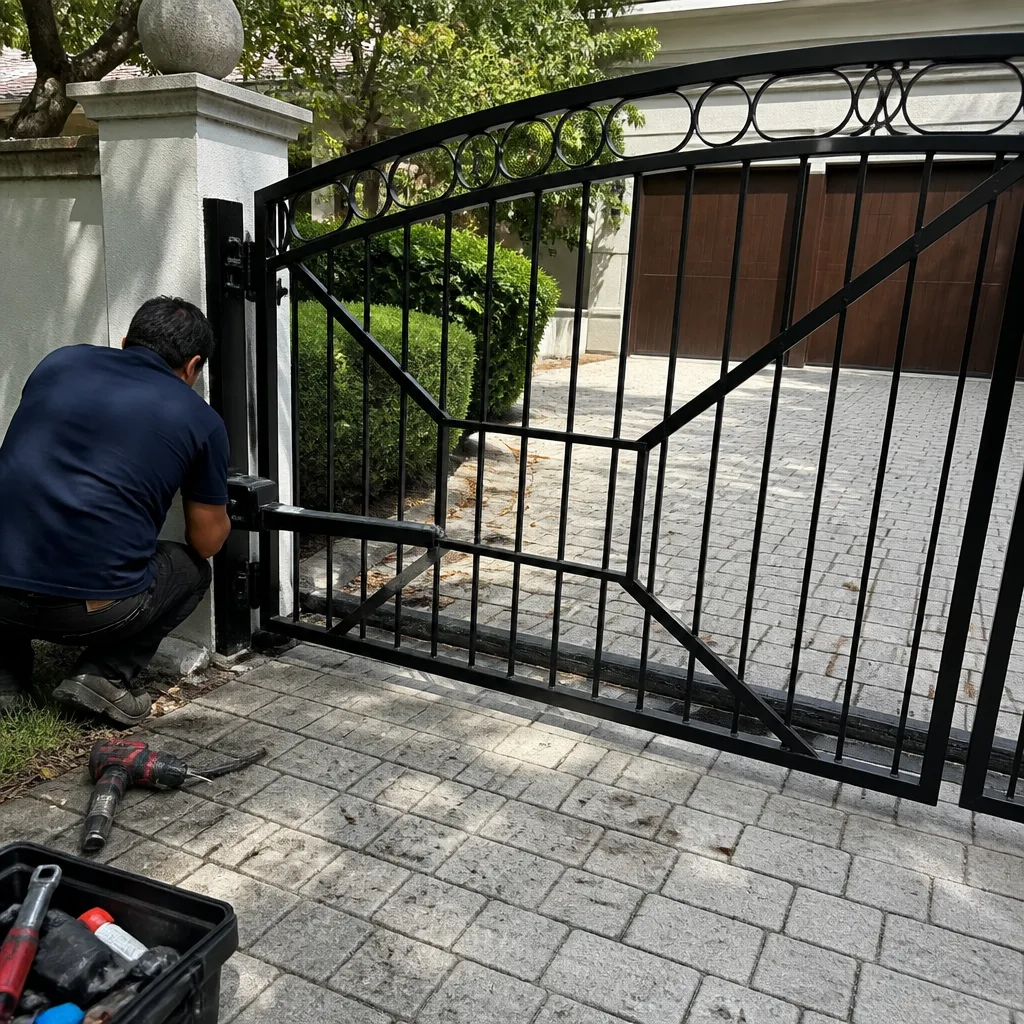 After
After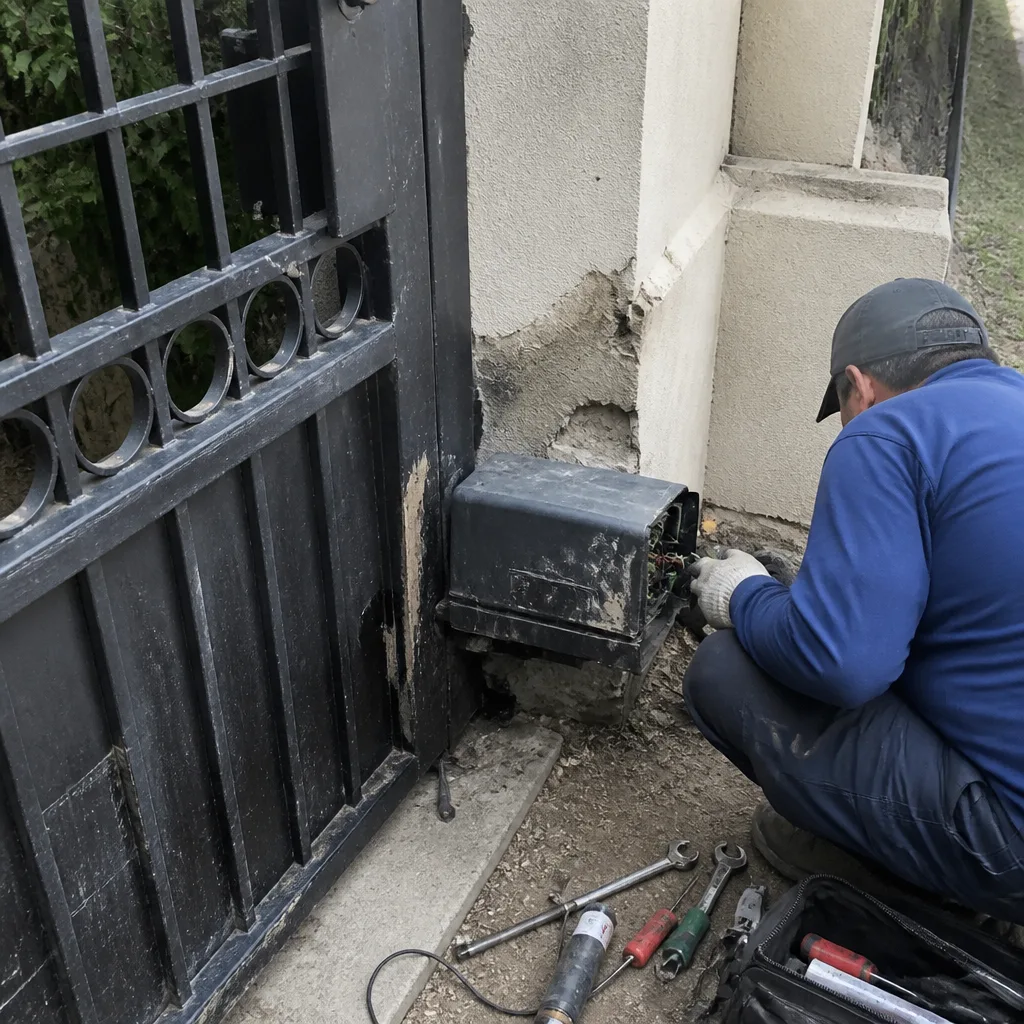 Before
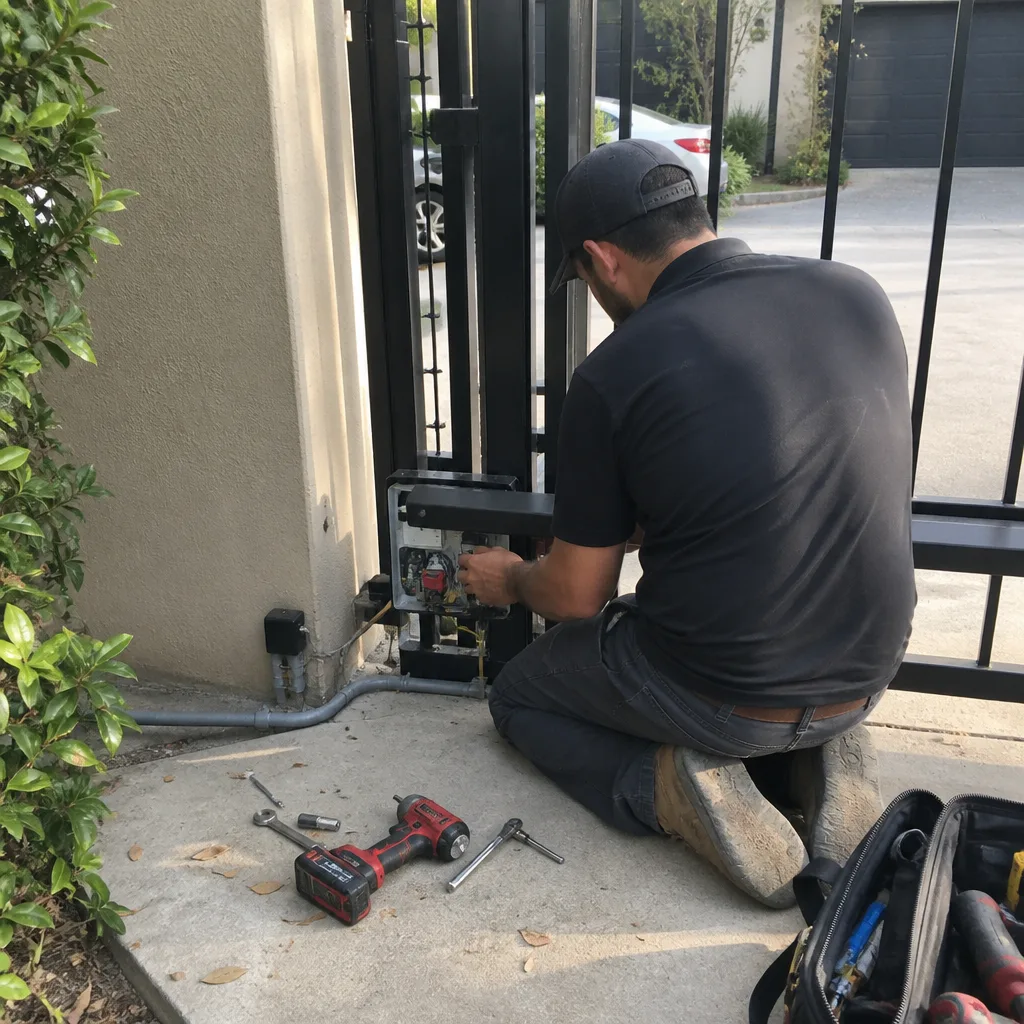 After
AfterDIY vs Professional Gate Repair: The Highland Park Homeowner’s Decision Guide
Last spring, a homeowner in Highland Park called us after spending a full weekend trying to weld a cracked gate hinge. He’d watched three YouTube tutorials, borrowed a welder from his brother-in-law, and produced what he described as “a bird’s nest of slag.” The gate held for four days. When it failed, the top hinge tore off entirely, the panel dropped, and the operator’s arm bent trying to drag the whole mess open. His $60 in welding rod and two days of work became a $940 repair. Most gate repair decisions don’t fail because the homeowner lacks skill. They fail because the homeowner misjudged which failure mode they were actually facing. This guide draws that line by failure type, not by confidence level. You’ll learn which repairs genuinely belong on a Saturday project list, which ones look simple but hide structural consequences, and how to tell the difference before you pick up a wrench in Highland Park.
Quick Answer
The DIY-versus-professional gate repair decision in Highland Park hinges on one question: if this fix doesn’t hold, what breaks next? Latch replacement, hinge lubrication, limit-switch adjustment, and track cleaning are genuinely DIY-appropriate for a careful homeowner. Anything involving hinge plate welding, post straightening, operator remounting, or frame re-squaring is professional territory because a failed attempt costs two to three times the original repair once secondary damage sets in. When you’re not sure which category you’re in, call a local Highland Park gate company before the first cut, not after.
Table of Contents
- Repairs That Belong on Your Saturday Project List
- The Repairs That Look Simple But Aren’t
- What a DIY Attempt Gone Wrong Actually Costs to Fix
- Prep Work You Can Legitimately Do Yourself (And Lower the Bill)
- The One Question to Ask Yourself Before Starting
- The Real Toolkit Difference: Why Experience Changes the Diagnosis
- Common Mistakes to Avoid
- When to Call a Professional
- Frequently Asked Questions
- The Bottom Line
Repairs That Belong on Your Saturday Project List
Not every gate problem needs a service truck. A handful of failures are genuinely accessible to a patient homeowner working with basic tools. The distinction isn’t about skill. It’s about whether the repair addresses a surface-level component or a load-bearing one. In our 24 years fixing gates around Highland Park, we’ve told plenty of homeowners “you don’t need us for this one” and meant it.
Here are the failures that are fair game for a do-it-yourselfer:
1. Gate Latch and Strike Plate Replacement
When a latch stops catching, the usual culprits are a bent strike plate, a sagging panel pulling the latch out of alignment, or simple wear on the internal spring. The first and third are true DIY jobs. A Phillips screwdriver, a replacement latch (Ghost Controls and Mighty Mule both make reliable aftermarket latches in the $25-$45 range), and about 45 minutes get it done. The second cause, a sagging panel, is a hinge-post problem, not a latch problem, and no amount of latch adjustment fixes it. That’s in the next section.
2. Lubrication and Cleaning of Hinges, Track, and Chain
Steel hinges in North Texas weather collect dust, pollen, and hard water residue. A dry hinge grinds, squeaks, and eventually wallows out the pin hole. Twice a year, scrub the hinge pin with a wire brush, spray a lithium grease into the joint, and wipe the excess. Chain-drive operators want the chain wiped down and lightly oiled. This is 20 minutes of work and the single best thing you can do to extend gate life in Highland Park’s dry, dusty climate.
3. Photo-Eye and Loop-Detector Alignment
If your gate won’t close, or gets halfway and reverses, the photo-eye sensors are the first thing to check. They get bumped by mowers, knocked askew by kids and dogs, and coated in dust. Realign the two sensors so the indicator lights show a solid signal, clean the lenses with glass cleaner, and re-test. This is a five-minute fix with no tools and no risk. It’s also the first thing we check when a Highland Park homeowner reports a gate that acts possessed.
4. Limit Switch Adjustment on a Screw or Chain Operator
If your gate opens too far and slams the post, or doesn’t open far enough for your truck, the limit switches are off. Most operators, including DoorKing and Elite models, have clearly labeled limit adjustment screws or buttons. Shut off power at the breaker, make a quarter-turn adjustment, power back up, test. Repeat until right. This is a 15-minute job that requires only a screwdriver and patience. Do not attempt this on a gate that sits on a slope or has a heavy solid panel; the limit settings are compensating for weight and inertia, not just travel distance.
5. Replacing a Worn Out Keypad Battery or Cover
Keypads die in the cold. The battery swap is a five-minute no-risk job. The cover replacement is just as simple. If the keypad’s membrane is cracked and Highland Park’s occasional heavy rain has gotten inside, replacing the entire keypad with the same model is a two-wire connection and a programming sequence in the manual. This is pure surface-level electronic work with no structural consequence.
What all five of these have in common: the worst-case failure mode is “the gate doesn’t work and I call someone.” The gate is not about to fall on your car. The panel is not about to tear off its hinges. The operator is not about to strip its drive gears because a keypad went dead. That’s the line.
The Repairs That Look Simple But Aren’t
Some gate repairs wear a friendly face. They look like a Saturday morning job right up until the moment the gate panel hits the driveway or the operator tears itself apart. The common thread is this: the visible symptom is chump change, but the actual load path involves the whole gate’s structural integrity. In Highland Park, we see these exact scenarios year after year.
Hinge Post Shimming: The Most Misleading “Easy” Fix
A sagging gate panel is the symptom everyone notices. The post it’s hanging on is the failure everyone misses. When a gate sags, the hinge post has shifted or the bolt holes in the post have wallowed out. The temptation is to shim the bottom hinge or re-level the panel. Do that, and the weight distribution changes: now the top hinge carries 80 percent of the load instead of 50. The top hinge plate tears out within months. The panel drops. The opener’s arm bends. What started as a $180 shim job becomes a welded hinge post replacement plus a new operator arm and possibly a new panel. A gate sags in the hinge post, not in the middle, and that is where the repair has to start.
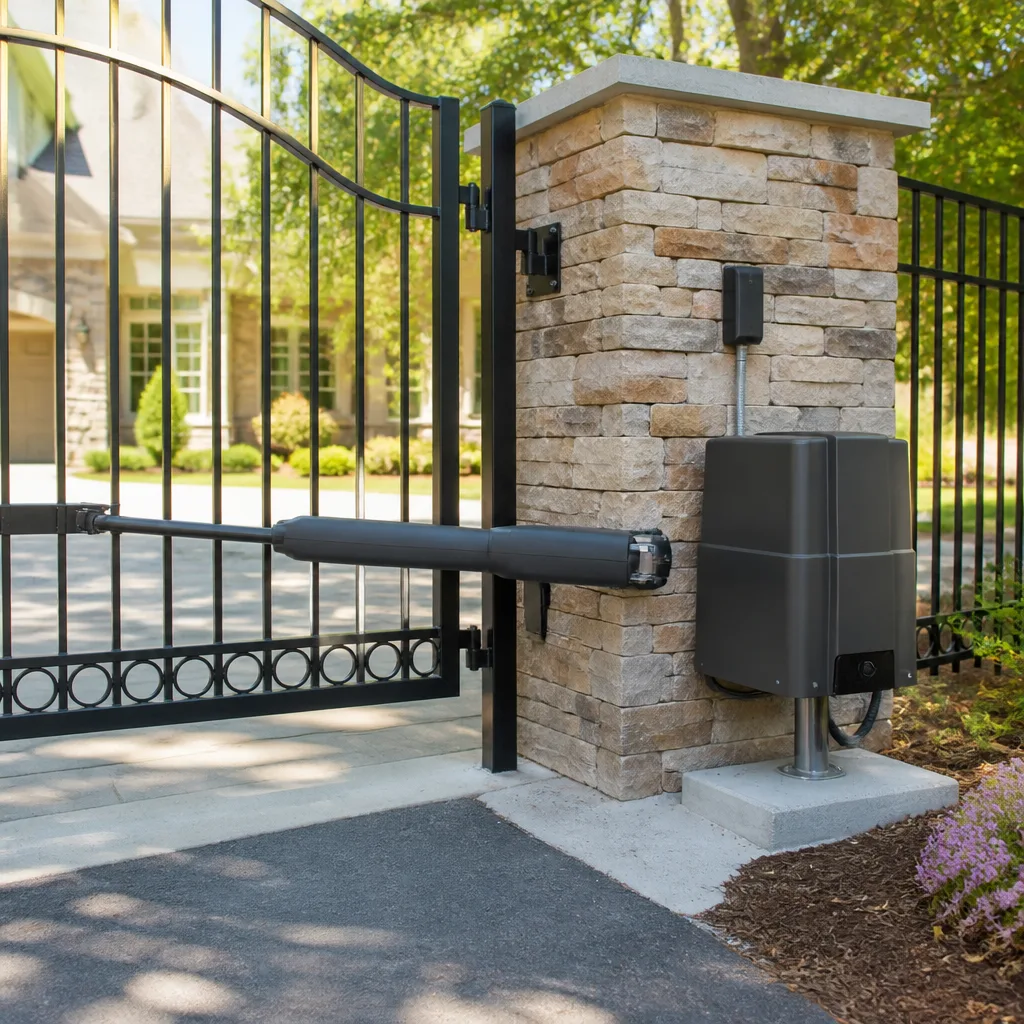
Operator Mounting and Re-Mounting
Gate operators look bolt-on. They are not bolt-on. An operator mounted a degree off square will bind against its drive shaft on every cycle. A pad poured without the proper depth will crack under the repeated torque of a 400-pound gate swinging through thousands of cycles. When a homeowner in Highland Park remounts an operator themselves, we usually find one of three things on arrival: the mounting plate is now a half-inch out of plane, the pad is cracked and tipping, or the operator’s final drive gears are stripped from running misaligned. The operator itself was fine. The mount is what killed it. Doing it right means a leveling laser, a proper concrete pad if one’s not present, and a measured cycle test with the gate connected and loaded. That’s why we do operator mounts with the gate in place, not on a bench.
Frame Straightening Without Heat and Clamps
A gate that’s been backed into by a teenager or pushed by the wind has a bent top rail or bowed stile. The YouTube method is a come-along, a chain, and a tree. The actual method is heat at a controlled temperature, mechanical straightening with clamps, and stress relief. Cold-bending a gate frame work-hardens the steel. The metal becomes brittle at the bend. It snaps later, sometimes when someone is standing near it. We straighten frames in the driveway with a torch and proper clamping blocks. It looks calm because it is calm; we’ve done a few hundred of them.
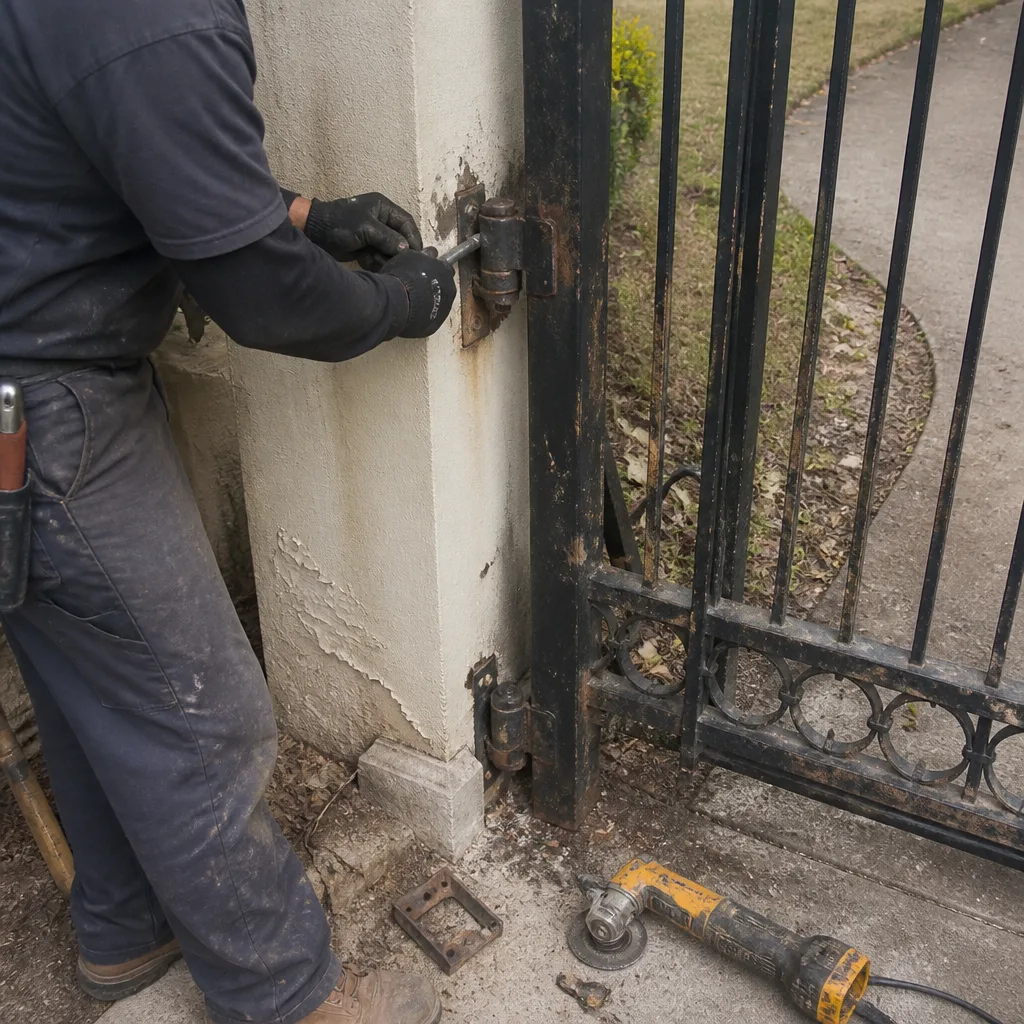
Replacing “Just the Hinge Plate”
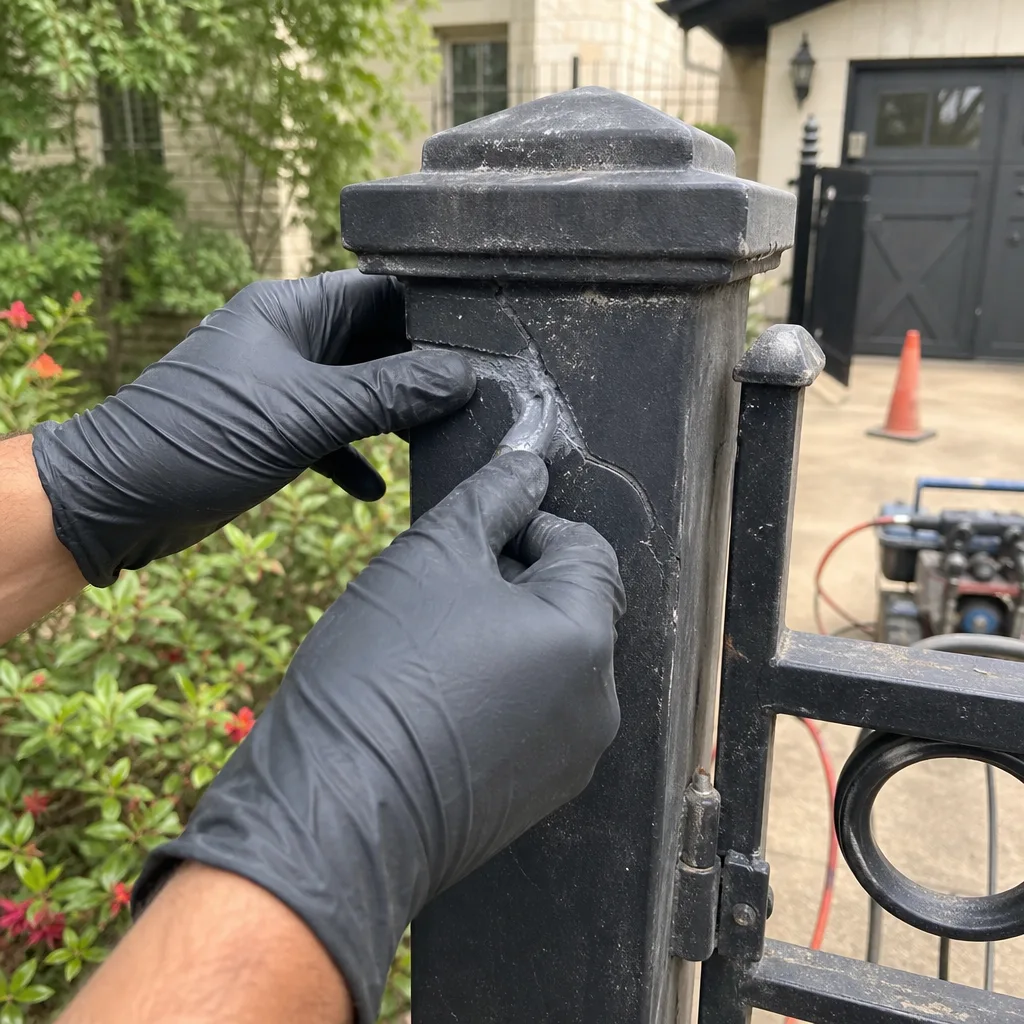
When a hinge plate cracks or tears, the failure almost never starts at the plate. It starts at the weld or at sloppy post movement. Cut off a cracked plate, weld on a new one, and if the underlying post is rocking or the tube behind the weld is fatigued, you’ve just armored a crumbing wall. The honest repair is to strip the plate, inspect the post and the rail, repair what’s actually wrong, and then re-weld. That’s what the Gate Repair in Highland Park work we do looks like every week.
The tell that you’re in this category: tightening, shimming, or adjusting doesn’t change where the weight actually goes. If the gate still sags after your fix, or the operator still grinds, you haven’t fixed the problem. You’ve decorated it.
What a DIY Attempt Gone Wrong Actually Costs to Fix
The scare-story version of this section is “don’t try it, you’ll hurt yourself.” That’s not what this is. This is the real-world arithmetic of a DIY gate repair that doesn’t hold, based on what we’ve actually repaired across Highland Park and the surrounding county. The math matters because the honest answer to “should I try this myself?” isn’t about your skill, it’s about your downside exposure.
Here’s what we see:
- The welded hinge that let go: $60-$100 in borrowed or rented equipment and supplies, plus a weekend. Failure mode: plate tears off the post, panel drops on one corner, top rail twists, operator arm bends. Repair cost: $700-$950 and the gate is down for an extra week while we order a section or rebuild the corner. The original hinge weld would have been a $300 repair.
- The shimmed post that started rocking: $15 in shims and hardware-store bolts. Failure mode: the post finally breaks loose at ground level, the gate leans into the driveway, and now the post footing has to be unearthed and replaced. Repair cost: $500-$900 depending on the footing depth and whether the post concrete was set below the frost line. The original repair: $250-$400, done in a morning.
- The misaligned operator mount: $0 in parts, just your time remounting. Failure mode: the drive shaft binds, the final-drive gears strip, and the operator, which was working fine, is now a boat anchor. Repair cost: $400-$800 for a new operator head plus a correct mount. The original mount job: $180-$350.
- The cold-bent frame that snapped: A chain and an anchor point. Failure mode: the brittle section snaps under normal opening force three months later, usually at the worst possible time. Repair cost: $600-$1,200 for a new panel or a properly heated and welded straightening job. The original straightening: $300-$500.
- The “I’ll just tighten the hinge bolts” that stripped the threads: A wrong-size wrench and too much torque. Failure mode: the bolt holes in the post are now oval, the bolts strip, and the entire hinge post side needs to be sleeved or replaced. Repair cost: $400-$700. The original tightening, done with the right torque and while checking post squareness: a service call.
Notice what all of these share. They didn’t fail because the homeowner was careless or stupid. They failed because the repair didn’t address the load path. The screw was on the hinge, but the hinge is only where the symptom shows up. The actual problem was the post. The actual problem was the mount. The actual problem was fatigue in the steel. Unless the repair accounts for what’s behind the visible part, you’re betting a weekend against the price of doing it twice.
Prep Work You Can Legitimately Do Yourself (And Lower the Bill)
There’s a category of work that’s honest DIY and it doesn’t involve wrenching on the gate at all. It’s preparation. A professional on-site quote in Highland Park involves drive time, diagnosis time, and the clock running while someone does housekeeping. Clear the path and document the problem, and you’ve removed a chunk of billable minutes without touching anything dangerous. We encourage this openly because it makes our day simpler and your invoice lighter.
Here’s your pre-service checklist:
- Photograph the entire gate from both sides, plus close-ups of the hinges, the operator, and the wheels or track. This gives the person quoting the job a head start before they even arrive. On a Gate Installation in Highland Park quote, those photos also help us know whether we’re bringing a socket set or a cutting torch.
- Measure the gate panel’s height, width, and thickness, and the opening width. Steel gauge, panel weight, and opening size determine operator sizing and hinge type. Having those numbers ready saves a round-trip.
- Clear vegetation and debris from within three feet of the gate in every direction, including the bottom track groove. Bermuda grass runners, trumpet vine, and Highland Park’s beautiful but aggressive wisteria all climb gates and jam tracks. Clean it out before we arrive and you’ve taken $20-$40 of labor off the job.
- Write down what you’ve already tried, in what order, and with what result. “I adjusted the close limit, then the gate started stopping six inches short” is diagnostic gold. “It’s broken” is what we hear from people who then pay us to re-diagnose what they already found.
- Locate the operator’s manual and model number. For an Gate Motor & Opener in Highland Park service call, having the manual out and the model number visible means we can look up the dip-switch settings and torque specs on the spot instead of guessing.
None of this requires you to touch a weld, a post, or an energized motor. It’s all preparation. Do these five things and you’ve done the only kind of DIY that never breaks anything and always saves money.
The One Question to Ask Yourself Before Starting
Here’s the whole decision tree in a single line: If this doesn’t hold, what breaks next?
Run the failure mode forward in your head before you pick up a tool.
If the latch doesn’t catch, the worst case is the gate blows open and bangs against the stop. Annoying. No structural risk. DIY.
If the photo-eye stays misaligned, the worst case is the gate won’t close and you have to hold the button. Annoying. No structural risk. DIY.
If the limit switch is off and the gate over-opens, the worst case on a flat, lightweight panel is a dented post cap. On a heavy solid panel or a sloped driveway, the worst case is the operator tearing its mounting bolts out of a cracking pad, or a runaway gate hitting the side of your garage. The weight and the slope are the gatekeepers here. Same failure, different consequence. That’s the line.
If the hinge plate weld fails, the worst case is the entire panel suspended on the bottom hinge only, twisting as it drops, bending the top rail, tearing the operator arm, and possibly falling on a vehicle or a person. That consequence is not proportional to the $300 professional repair. That’s when you call.
If the post is rocking and you shim it anyway, the worst case is the whole gate, post and all, coming over. This is not a hypothetical. We replaced a post last year in Highland Park that let go while the homeowner’s granddaughter was opening the gate. The gate didn’t fall on her. It fell on the hood of her car. The shims were still in the gap, right where the homeowner had wedged them two months earlier.
So the question isn’t “can I do this?” The question is “what breaks next if I’m wrong?” If the answer is a worse version of the same symptom, do it yourself. If the answer is a bigger, more expensive failure that involves weight, momentum, or person-scale force, call someone who fixes gates for a living and has been doing it in Highland Park since before YouTube existed.
The Real Toolkit Difference: Why Experience Changes the Diagnosis
The difference between a homeowner and a gate repairer isn’t mostly the tools. It’s what the person looks at first. We’ve walked onto properties in Highland Park where the homeowner had spent three weekends chasing a symptom, only to find the actual problem in 90 seconds because of where we looked.
A homeowner sees a gate that won’t open and starts at the operator. A gate repairer starts at the hinge post and works the load path backward. A gate that fights its operator is usually a gate that’s sagging, bound, or dragging. The operator is the messenger, not the message. Fix the drag, and the operator stops working overtime. Chase the operator, and you burn out a perfectly good motor.
We carry a hydraulic pipe bender, a MIG welder, concrete forms, and a torque wrench. Those aren’t trophy tools. They’re the difference between “fixed” and “actually fixed.” A Home Depot socket set and a YouTube video will get you to “the gate opens again.” The load path hasn’t changed. The post is still shifting. The hinge is still wallowed out. The gate will open for six months. Then it won’t.
One of our regulars in Highland Park has a Ghost Controls opener on a 16-foot ornamental steel gate. He does his own lubrication and photo-eye cleaning and keypad batteries. Every two years or so the gate starts to slow on the last third of its travel. He now knows to look at the bottom roller first. That’s not because he’s a gate repairer; it’s because he learned from watching where we look. There’s a difference between someone who has done a repair once and someone who has seen the 30 ways it goes wrong.
That’s the training gap. It’s not certification and jargon. It’s the pattern library that comes from two decades of walking the failure mode backward from symptom to root cause. You can’t speed-run that. You can, however, borrow it for the cost of a service call, and that’s a legitimate use of a professional even for a job you could eventually figure out yourself.
Common Mistakes to Avoid
- Shimming the hinge instead of the post. A shim between the hinge and the panel takes the symptom off the sag, but it loads the top hinge with all the weight. The post needs to be reset, not the panel levered up. In Highland Park’s clay soil, posts shift with freeze-thaw and drought cycles, and shimming just buys a few months before the mount tears out.
- Welding over fatigue cracks without grinding them open first. A crack that’s welded on the surface is still a crack underneath. The weld looks solid, the gate looks fixed, and then the crack propagates under the new weld and the plate breaks off entirely. Grind the crack to clean metal, bevel the edges, then weld. Any professional weld repair starts with a grinder, not a torch.
- Using a come-along to straighten a bent gate frame without heat. Cold-bending works until it doesn’t. North Texas steel, especially older ornamental gates, work-hardens quickly. The bend straightens, then snaps, sometimes weeks later. Heat, clamps, controlled bending, and slow cooling. There is no reputable shortcut.
- Replacing the operator without fixing the gate it’s attached to. A new Elite or DoorKing operator is not going to fix a gate that drags on its track or a post that’s leaning. The new operator burns out the same way the old one did, and now you’ve spent $700 on a new motor to confirm the diagnosis. Fix the gate first, then the operator.
- Ignoring the bottom track and roller wear. A gate that’s hard to open by hand is almost always bound at the bottom, not at the motor. The rollers wear flat, the track fills with grit and grass clippings, and now the operator is working against a grinding surface every cycle. Clean the track monthly during the growing season in Highland Park and replace flat-spotted rollers before they oval out their mount holes.
- Mounting an operator on a cracked or undersized concrete pad. The pad is the foundation of the whole drive system. If it’s cracked, moving, or smaller than the manufacturer’s minimum, the operator will tear itself loose. A proper mount starts with concrete that’s cured, level, and sized for the torque. This is not a job for an afternoon with a bag of quikrete and a level.
- Assuming the gate is the problem when it’s the power. More than one homeowner in Highland Park has replaced a keypad, an operator, and a set of sensors before checking the GFCI outlet the operator was plugged into. High humidity after rain trips a ground-fault outlet. Reset the outlet. Check the breaker. Then start replacing parts. This is a 60-second check that saves hundreds.
When to Call a Professional
The honest list is short. Call a professional when the failure mode involves the hinge post, the operator mount, a cracked weld, a bent frame, or a gate that has rubbed a mark in the ground. Call when you hear a new sound from the gate that wasn’t there last week and you can’t account for it in 15 minutes. Call when the gate is heavy and the repair involves lifting it. And call when the failure is at the boundary between the gate and your house, because a gate that damages its post sometimes takes out the adjoining fence line too. On any of these, a free estimate is worth more than a weekend wasted on the wrong repair. Gatewood Fence & Gate offers no-trip-charge estimates in Highland Park, and the price is quoted and agreed before any work starts. Call (325) 936-1371 and you’ll get Hal or one of the crew, not a recording.
Frequently Asked Questions
Gate repair in Highland Park typically runs $150 to $950 depending on the failure: a latch or limit-switch adjustment is $125-$200; a hinge replacement or bottom roller replacement is $200-$400; an operator mount or replacement runs $400-$800; and a hinge post reset with concrete and welding lands at $500-$950. The price is always quoted up front and agreed before work starts, and the Gate Repair in Highland Park page breaks down each repair type further. Call (325) 936-1371 for a written estimate on your specific gate.
Welding a gate hinge on your own is the single highest-risk DIY gate repair because a failed weld leaves the entire panel’s weight on the remaining hinge and can drop the gate on whatever is under it. Most hinge failures originate in the post or the rail, not the plate itself, and a weld that doesn’t address the post movement will fail again in months. If you’re not a welder with a MIG rig and experience with load-bearing steel, this is the repair to hire out.
Safe DIY gate repairs are latch swaps, hinge lubrication, photo-eye cleaning and alignment, limit switch adjustments on light flat-ground gates, keypad battery replacement, and track cleaning. These all have a worst-case failure mode of “the gate stops working and you call someone,” rather than “the gate falls and damages property or people.”
Highland Park’s hot summers, occasional hailstorms, and late-summer thunderstorms are hard on gate opener circuit boards, and the best thing a homeowner can do is keep the unit’s weather cover intact, the wiring grommets sealed, and the pad under the operator free of pooling water. If the operator faces direct west sun, a shade screen over the control box extends the board’s life by years. On-site brands we service include Ghost Controls, DoorKing, Elite, and Mighty Mule, and a Gate Motor & Opener in Highland Park tune-up runs about $120-$180.
Push the top of the gate with a flat palm. If the gate moves more than a quarter-inch and the post moves with it, the post is failing. If the gate moves and the post stays rigid, the sag is in the hinge or the panel. The first is a structural repair; the second is usually a hinge repair. Either way, a gate that moves is a gate that’s wearing something out on every cycle, and in Highland Park’s shifting clay soil, post movement never fixes itself.
The lowest bid is often the person who doesn’t understand the load path and will patch the symptom, or the person who will find the price difference in change orders after the job starts. A good repair quote explains what’s wrong and why, names the parts and the labor, and is written down before anyone touches the gate. Gatewood Fence & Gate has been owner-operated in Highland Park since 2001, with a published shop address and the 90-Day Done Right Promise in writing. If another bid doesn’t look like that, ask why.
The Bottom Line
A good gate repair decision is about failure mode, not self-confidence. Latch work, cleaning, alignment, and basic adjustments are DIY ground. Hinge welds, post resets, operator mounts, and frame straightening are not, because the consequence of failure is measured in dollars and weight, not frustration. Prep work like clear brush, photos, and measurements is the honest DIY that lowers any invoice. And the one question that decides every case is the same: if this doesn’t hold, what breaks next? Ask it before the wrench comes out, and you’ll never turn a $300 repair into a $900 one. For a Gatewood Fence & Gate home estimate, call (325) 936-1371 and get Hal or his crew, 24/7, no voicemail and no runaround.
Written by Hal Gatewood, Owner at Gatewood Fence & Gate, serving Highland Park since 2001.