
Last updated August 26, 2026
Free on-site gate assessment - hinges, posts, and your LiftMaster or Nice gate operator checked before anything is quoted
The assessment is free and the quote is the invoice.
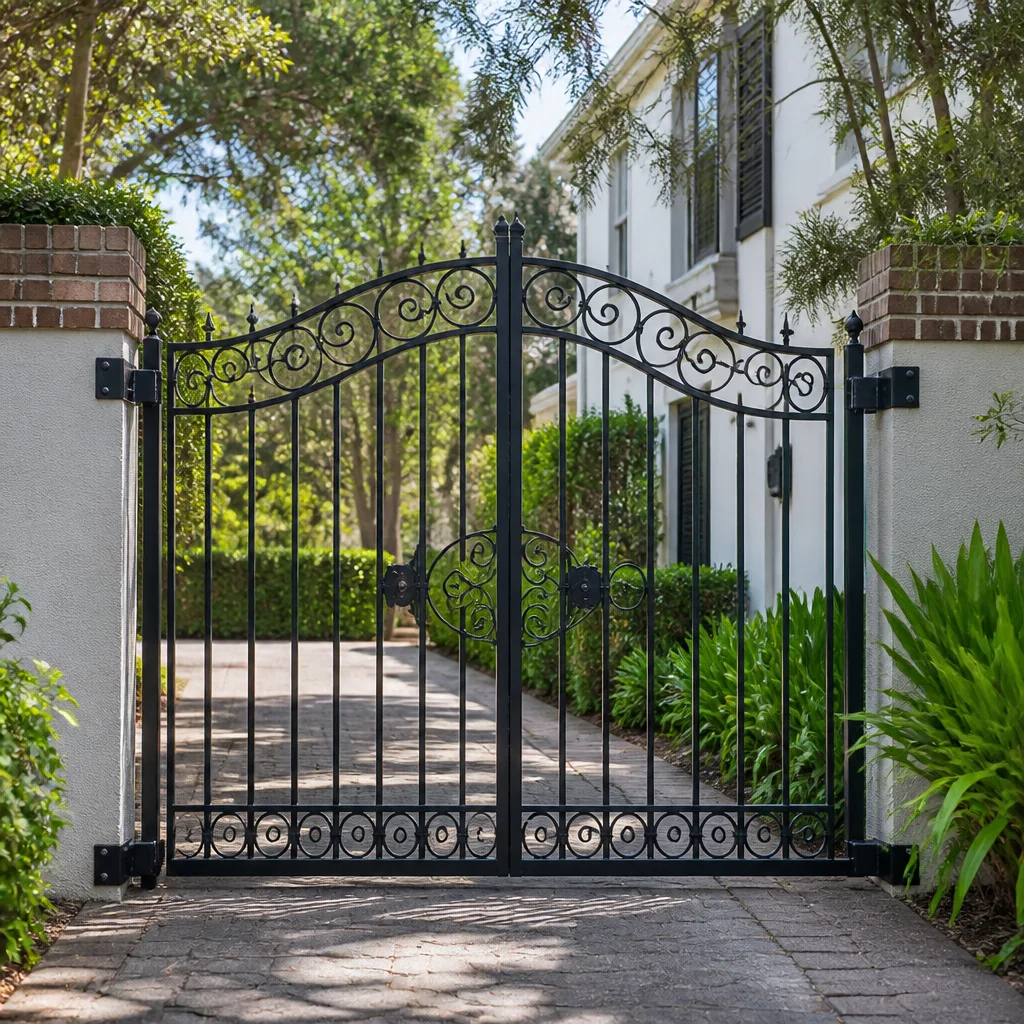
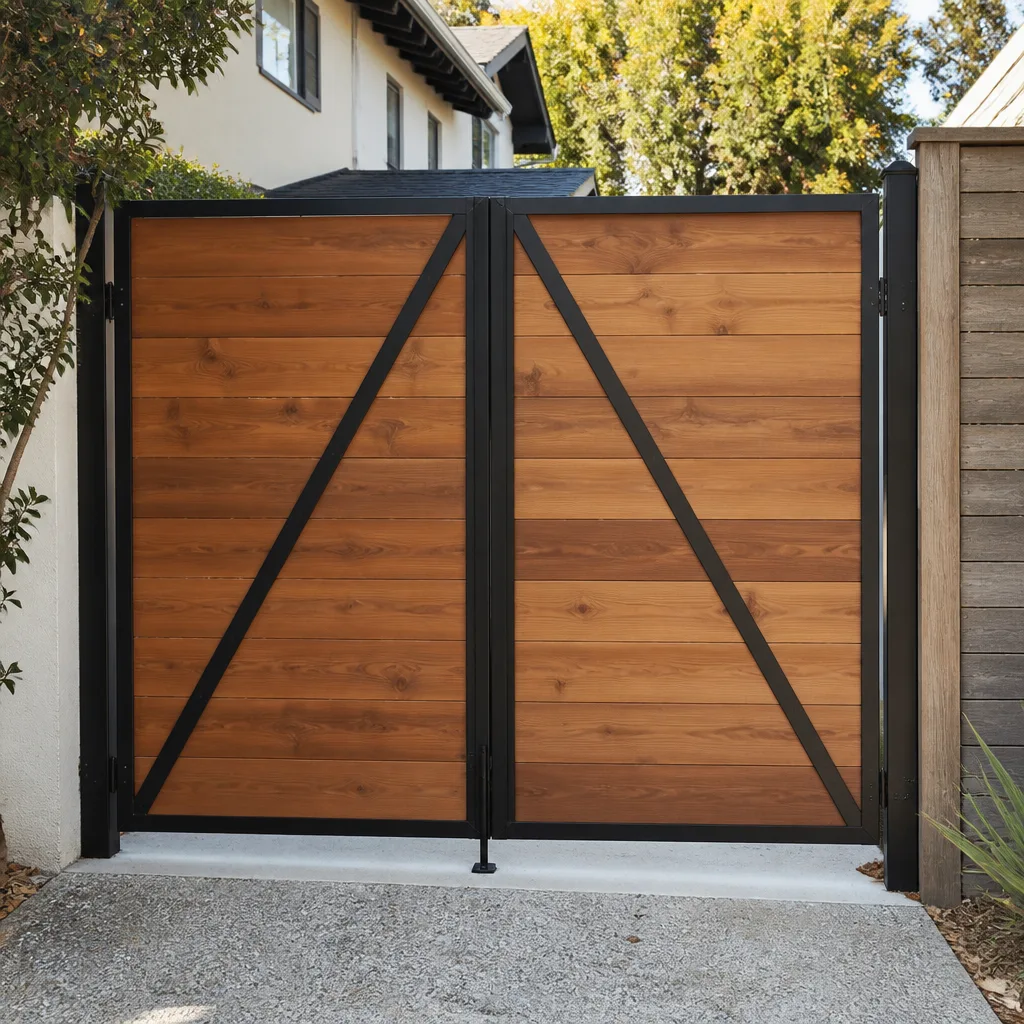
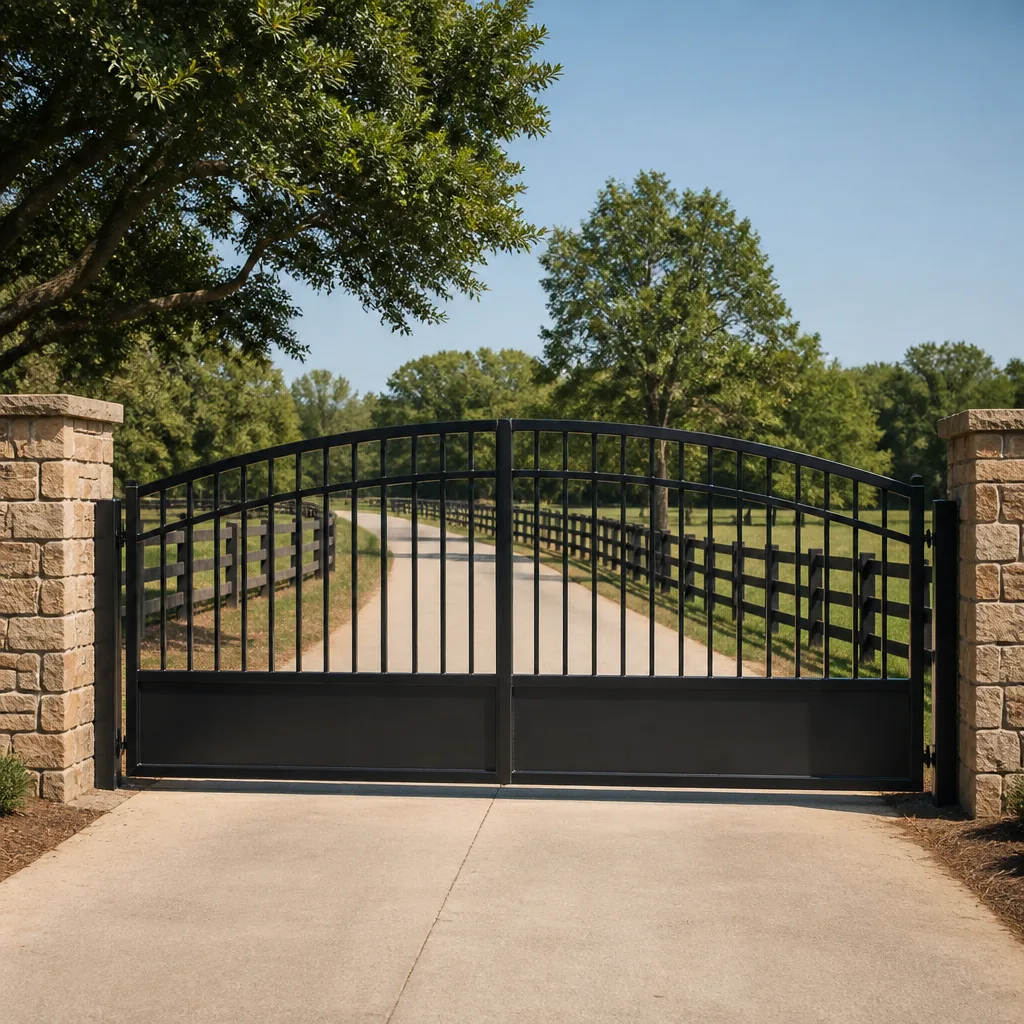
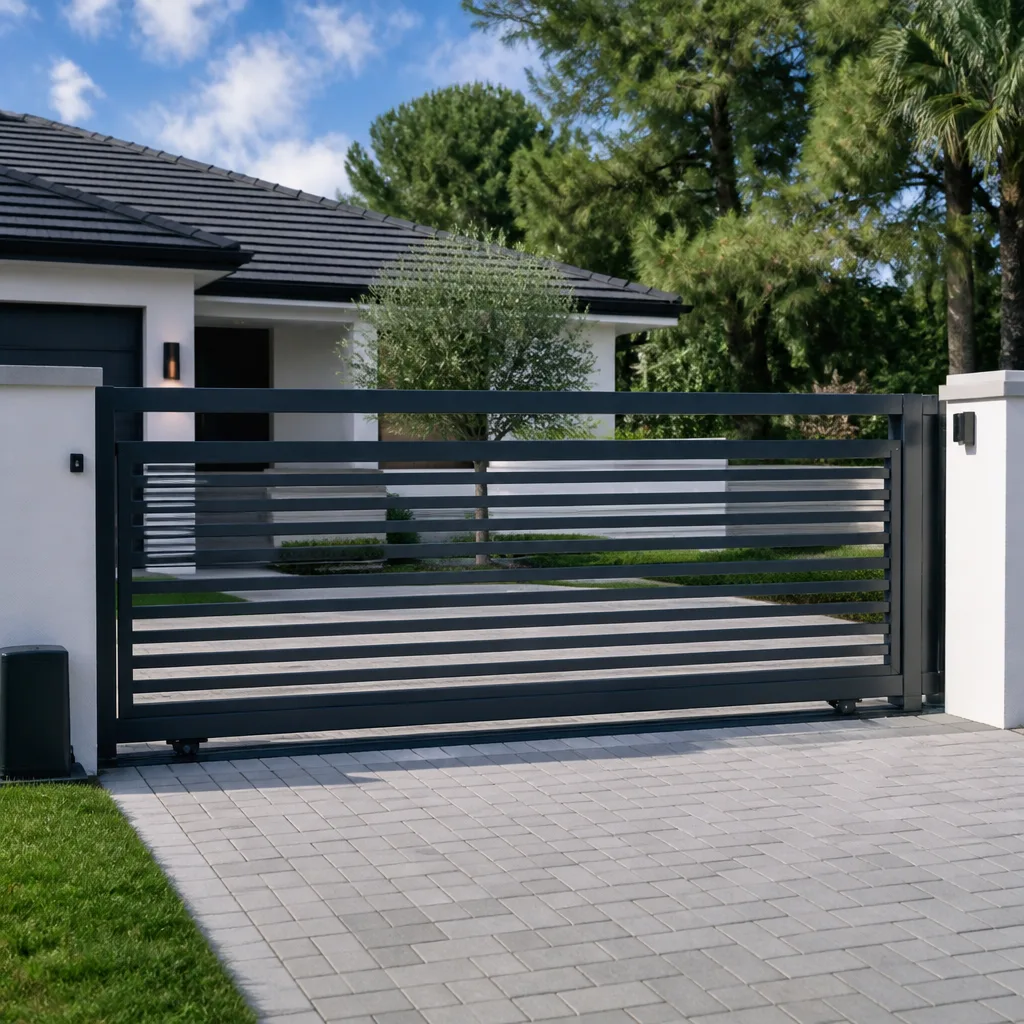
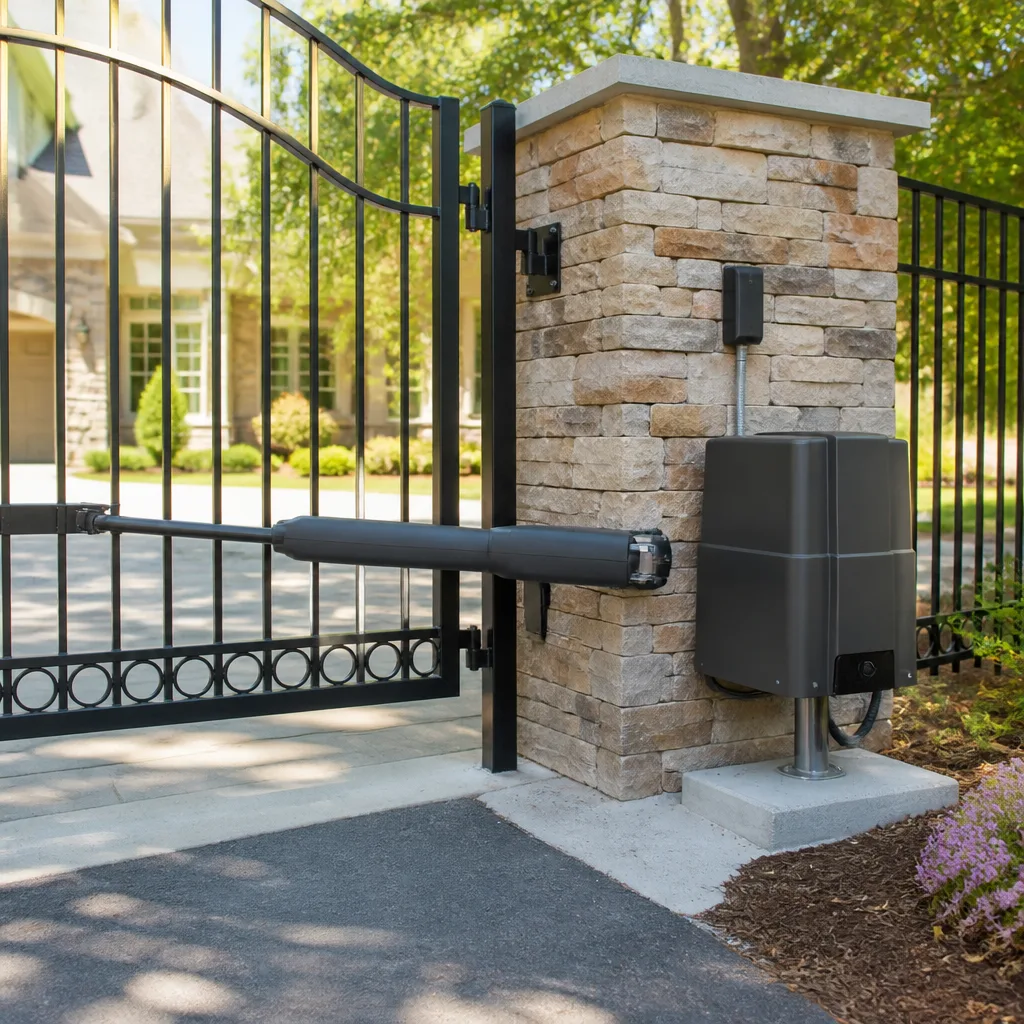
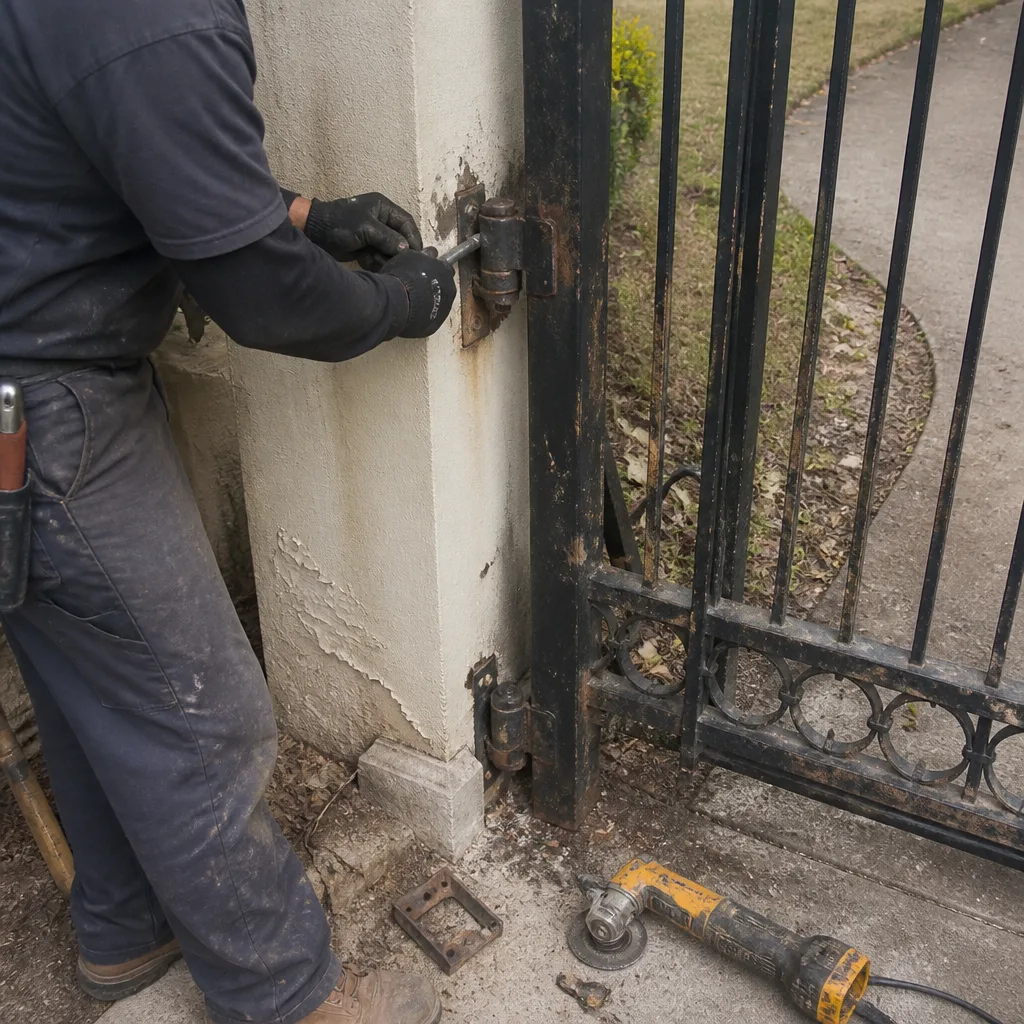 Before
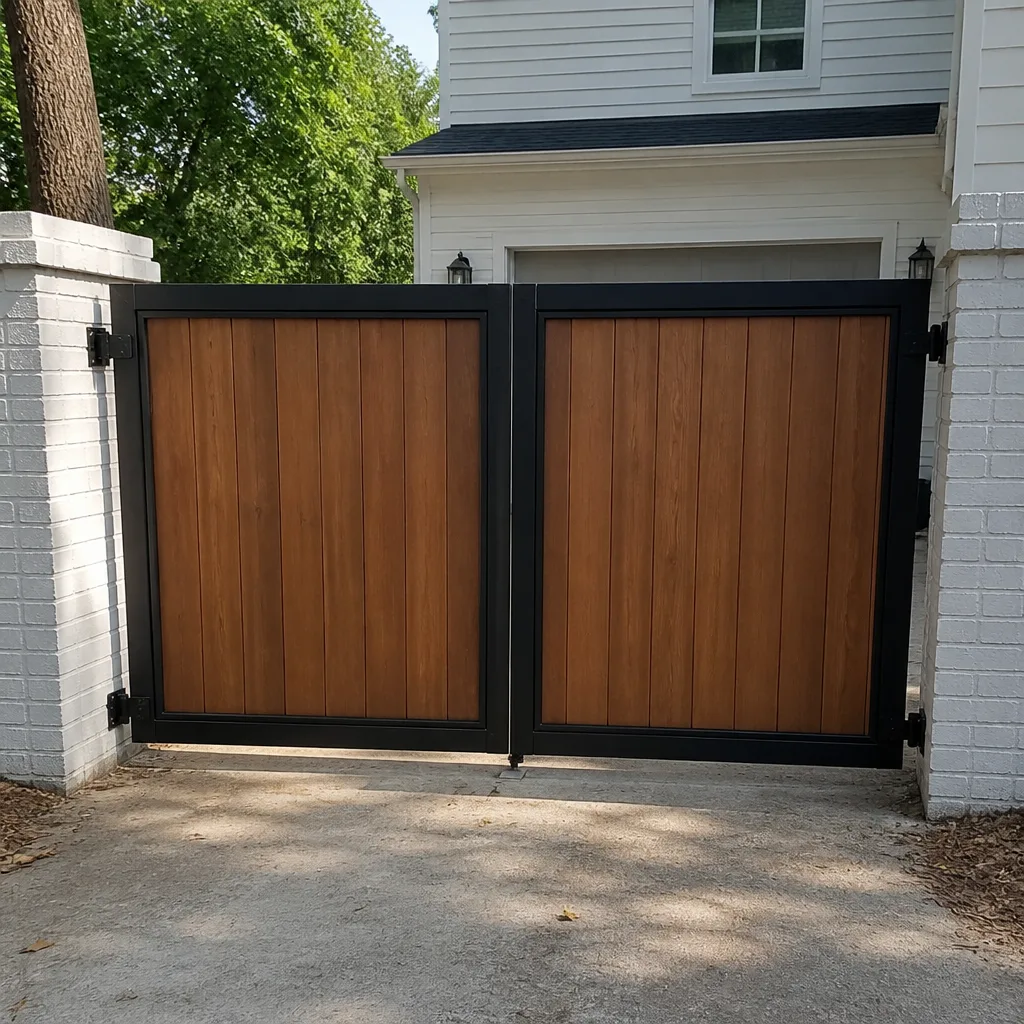 After
After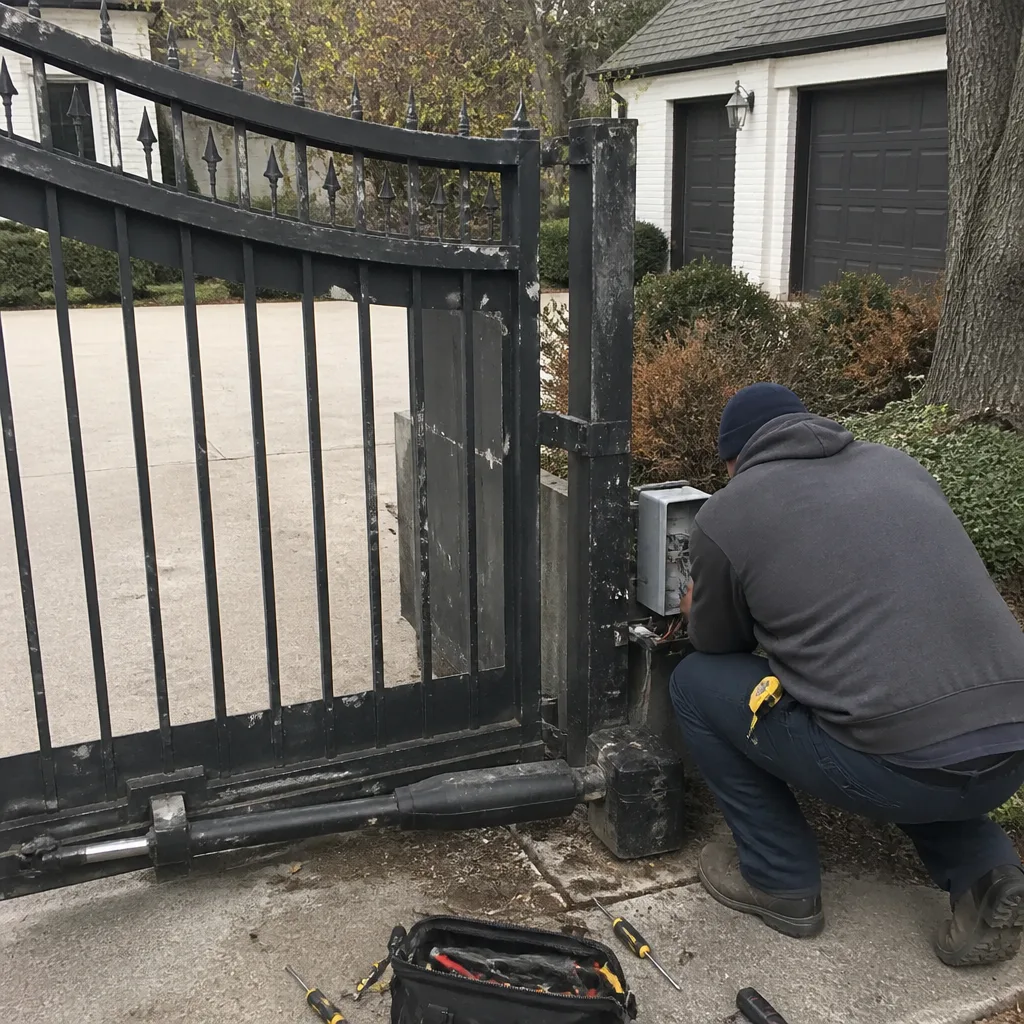 Before
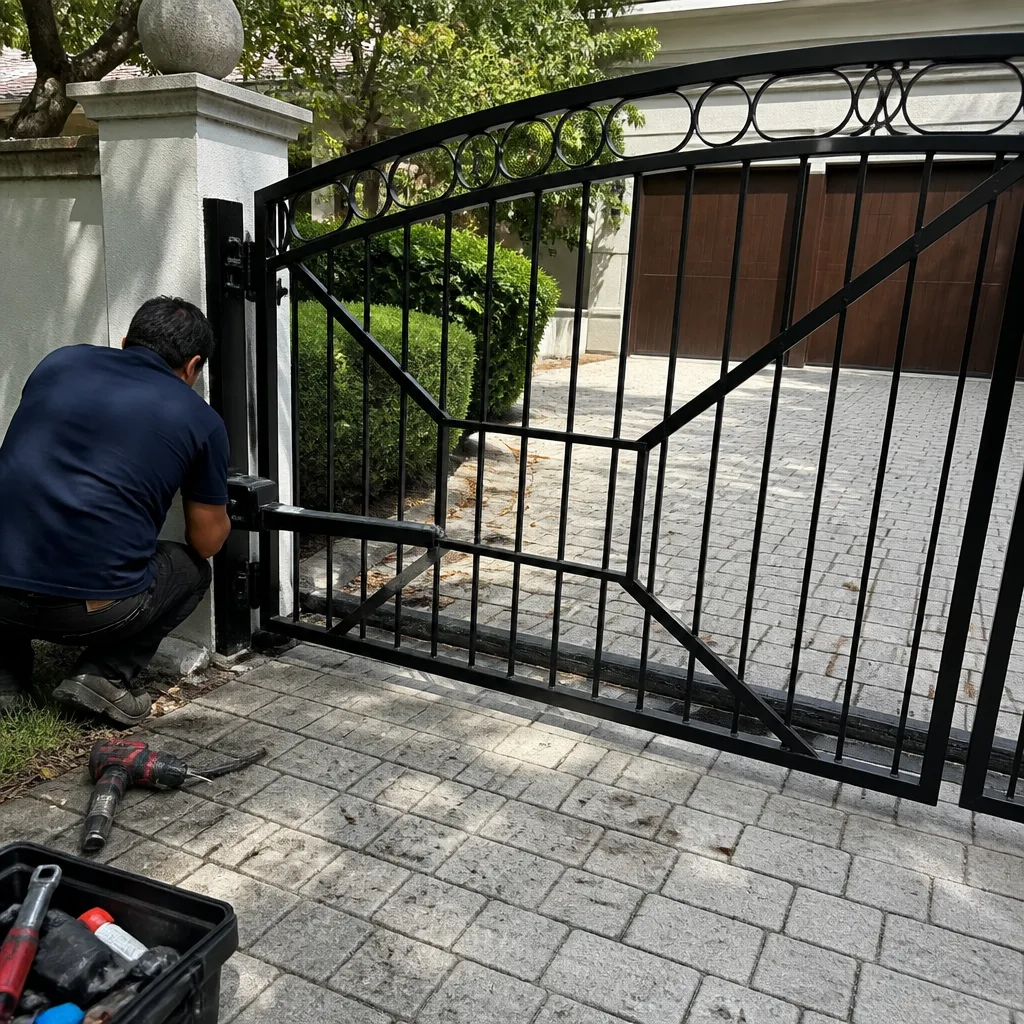 After
After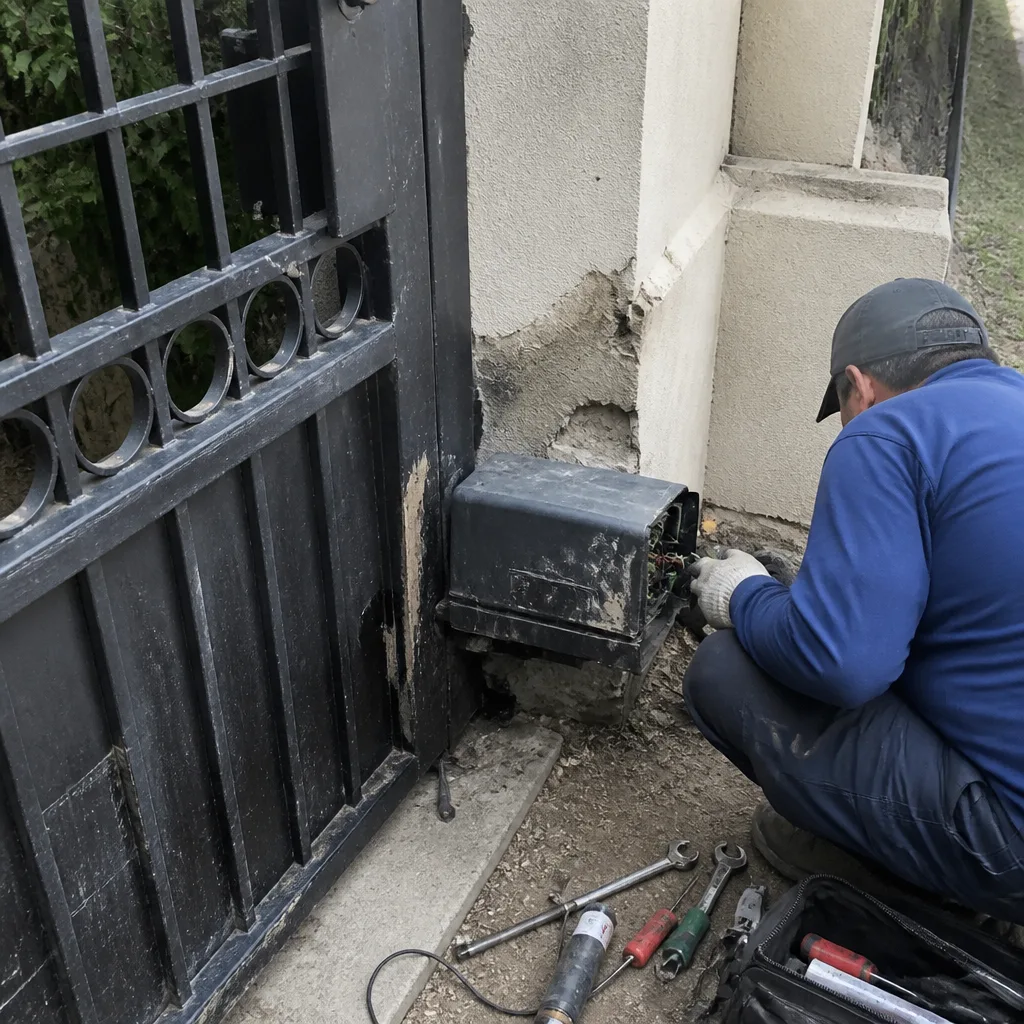 Before
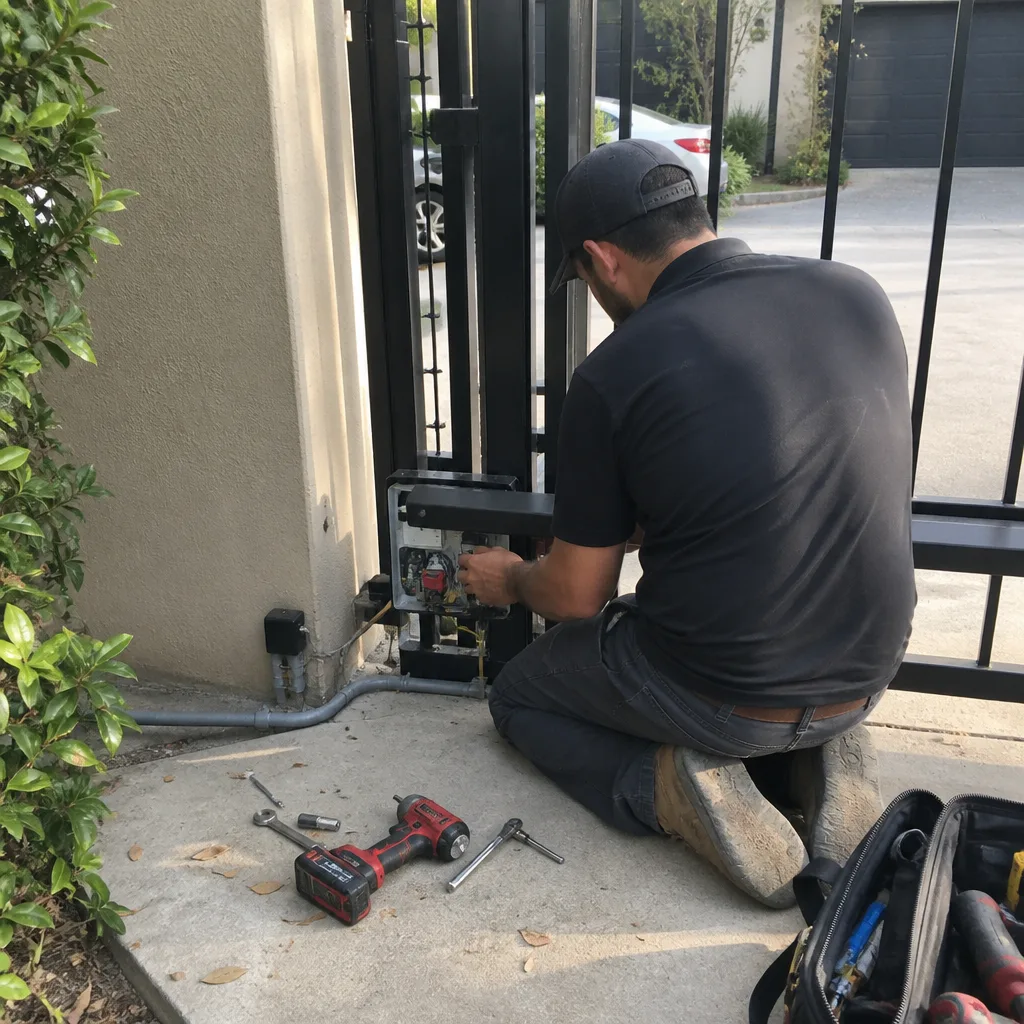 After
AfterGate Repair Warning Signs: A Highland Park Homeowner’s Reference Guide
A gate that’s slow to close in the morning and fine by noon isn’t having an operator problem. It’s telling you the post moved overnight and the gate is binding on the ground - and that problem gets worse every single day you don’t address it. Highland Park homeowners who learn to read these signs early save themselves thousands of dollars, and this guide exists to teach you exactly that. We’ll walk through every warning sign a gate gives before it fails outright, what each one actually means, which ones demand immediate action, and which ones you can watch for a few weeks. By the end, you’ll know more about your gate than most people who call themselves repair technicians.
Quick Answer
The most common gate repair warning signs in Highland Park are a gate that scrapes the ground on one side, a gap between gate and post that’s wider at the top than the bottom, grinding or screeching during travel, an opener motor that runs but the gate doesn’t move, and rust streaking from welds or hinges. Any scraping, grinding, or visible structural lean needs professional attention within a week - a full gate failure typically follows within 60 to 90 days of the first ignored symptom.
Table of Contents
- Symptom-to-Cause: What Your Gate Is Actually Telling You
- Cosmetic vs. Structural Warning Signs: Knowing the Difference Saves Money
- Time-Sensitivity Tiers: What Needs Attention When
- How to Photograph and Measure Warning Signs Correctly
- Warning Signs That Point to a Previous Bad Repair
- How Highland Park’s Climate Accelerates Gate Wear
- Opener and Motor Warning Signs Most Homeowners Miss
- Hinge and Post Failures: The Structural Core of Your Gate
- Common Mistakes to Avoid
- When to Call a Professional
- Frequently Asked Questions
Symptom-to-Cause: What Your Gate Is Actually Telling You
Every gate failure in Highland Park announces itself. The problem is that most of the announcing sounds like normal wear, so homeowners ignore it until the gate is on the ground or the opener has burned itself out. Here is a translation guide for the most common symptoms we see on gates throughout Highland Park - and what each one actually indicates underneath.
Grinding or Scraping Sound During Travel
A grinding sound is almost never the opener. It’s the gate itself dragging across something - usually the ground, a concrete apron, or the post. In Highland Park, where soils shift with seasonal moisture changes, a gate that cleared fine in March can be scraping by August. The sound means the gate frame has dropped on one side, which points to hinge wear, post lean, or a failed weld at the bottom corner of the frame. Every pass across the ground shaves material off the gate’s bottom rail, so the damage compounds. This one needs a look within days.
Gate Slower in the Morning, Fine by Noon
This is the classic post-movement signature. Overnight, temperature and moisture changes cause the soil around a gate post to shift slightly. The post leans a fraction, the gate pins against the ground on the latch side, and the opener strains until the sun dries things out and the gap reopens. Homeowners write this off as the operator being temperamental. It’s not. The post is moving, and every week it moves a little further. In Highland Park’s clay-heavy soils, this pattern gets worse after rain and can cause full post failure within a season.
Uneven Gap Between Gate and Post
Stand back and look at the gate. The gap between the gate leaf and the post should be roughly even top to bottom. If it’s wider at the top and tighter at the bottom, the gate is sagging - typically hinge elongation or a wallowed-out hinge post. If it’s tighter at the top, the post itself is leaning outward. A gate sags in the hinge post, not in the middle - and that’s where we start. Any visible change in the gap geometry means a load-bearing connection is failing.
Rust Streaking From Welds or Hinges
Rust that bleeds out from a weld joint or a hinge pin is structural, not cosmetic. Surface rust on the flat face of a steel gate is usually just a finish issue. Rust radiating from a connection point means the joint is flexing enough to crack paint and expose bare metal repeatedly. That flexing is load-bearing movement, and it accelerates until the weld cracks through or the hinge pin shears. This is a don’t-wait symptom.
Opener Motor Runs But Gate Doesn’t Move
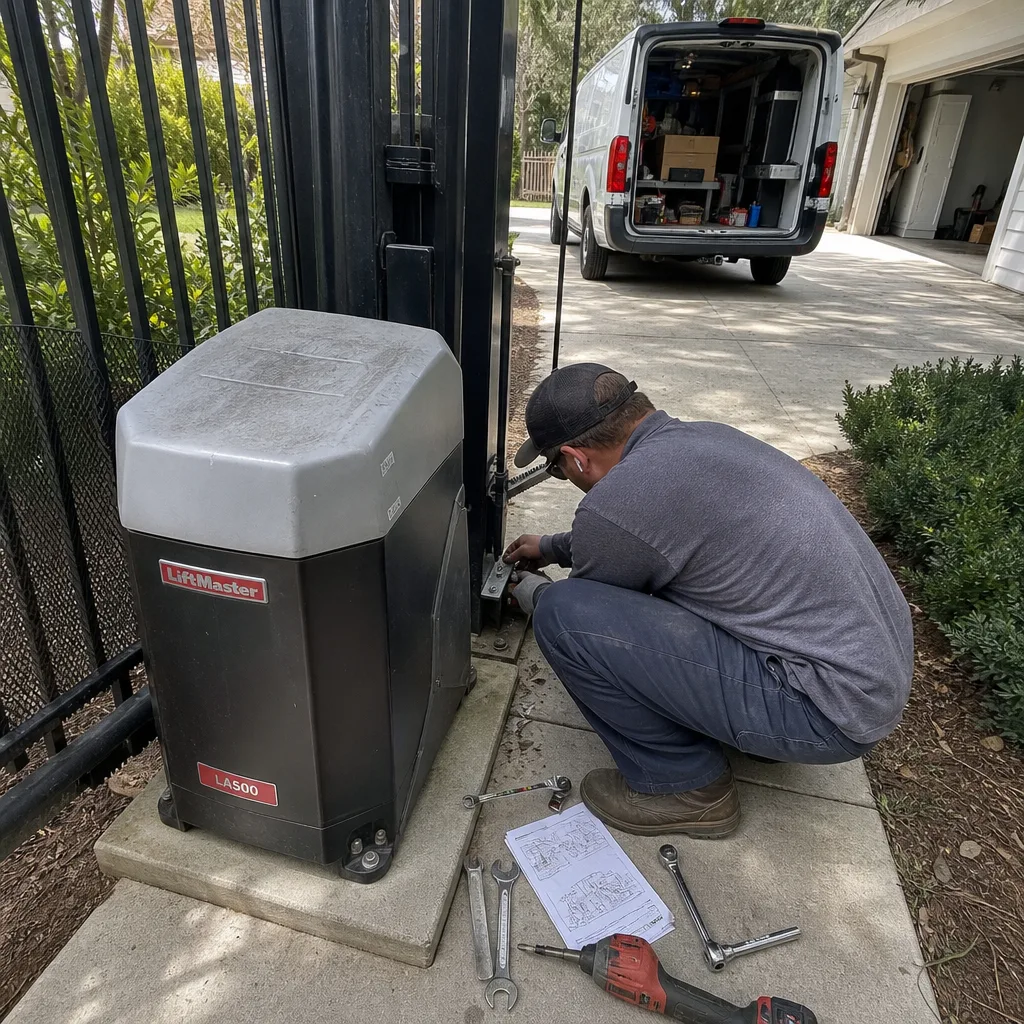
If you hear the motor spinning and the gate stays put, the failure is usually in the coupling between the opener’s drive mechanism and the gate itself - a broken chain link, a stripped gear, a sheared key, or a detached arm. On swing gates, it can also be the actuator arm coming loose from the mounting plate. This one isn’t the motor’s fault, but the motor is working against nothing, which can overheat and burn windings if left running too long. Shut the opener off at the breaker and get someone out.
Intermittent Sensor Failures
A photo-eye or safety loop that triggers randomly is rarely a failing sensor. Usually it’s a wiring connection that’s compromised - a splice that’s corroding, a wire that’s been nicked by the gate swinging past it, or a terminal that’s wiggled loose from years of vibration. In Highland Park’s summer heat, plastic connector housings also expand and can break contact intermittently. The sensor itself may be fine, but the intermittent failure is telling you the wiring path needs inspection.
For a deeper breakdown of what a full Gate Repair in Highland Park involves, see our service page. And if you’re noticing these symptoms on an opener specifically, the Gate Motor & Opener in Highland Park page explains what’s repairable versus replaceable in most cases.
Cosmetic vs. Structural Warning Signs: Knowing the Difference Saves Money
The single biggest money-saver in this whole guide is learning to separate finish problems from frame problems. One of them is a cosmetic annoyance. The other one is a structural failure in progress. Confusing the two is how homeowners either panic and spend money they don’t need to spend, or ignore a dangerous condition until the gate comes down in the driveway.
Cosmetic Signs You Can Deprioritize
- Surface rust on flat panels: If the rust is on an open face of the steel and there’s no joint within six inches, it’s a finish issue. Wire brush, prime, repaint - or have it done when you’re getting other work anyway.
- Faded powder coat or paint: UV breakdown over years in Texas sun. Looks rough, affects nothing structurally. Repainting is a weekend project.
- Minor surface scratches and scuffs: Gates take hits from lawn equipment, trash cans, kids. If the scratch doesn’t expose bare steel in a load-bearing area, it’s cosmetic.
- Light surface scaling behind hinges: Thin flaking on a face next to a hinge is often just paint adhesion failure from heat cycling, not structural movement. Check the hinge pins themselves before worrying.
- Minor sag on a wood gate under 40 pounds: Small wood pedestrian gates can drop slightly as the wood dries. If there’s no scraping and the gap change is under a quarter inch over a year, it’s settling, not failure.
Structural Signs You Never Ignore
- Weld cracks visible as hairline lines radiating from joints: Any crack in a weld is a load-bearing joint announcing it’s failing. Welds don’t crack from age alone - they crack from movement and stress.
- Hinge pin play you can feel or hear: Lift the gate slightly at the latch end. If you feel clunking at the hinge, the pin is wearing or the hinge barrel is elongated. This transfers load in ways the gate wasn’t designed for.
- Post lean visible from the street: Use a level or a plumb line. Any lean over a degree on a load-bearing post is structural. Posts don’t straighten themselves - they keep moving.
- Gate frame twisting out of plane: If the gate doesn’t close flat against the stops anymore, the frame itself is racking. This is a weld failure or a bent frame member, and it’ll only get worse under its own weight.
- Concrete cracking at the post base: A post set in concrete that’s cracking the concrete around it is pushing against its own footing. That’s a load path failure, not a finish issue.
- Rust that flakes in layers at connection points: Heavy pitting rust at a weld or hinge means the steel is losing material thickness. Every flake is metal that was carrying load.
The rule of thumb: if a problem is on a flat surface away from any joint, hinge, or post, it’s probably cosmetic. If it touches a hinge, a weld, a post, or the ground, it’s structural until proven otherwise. Fix the panel without the post and you’ll fix it twice.
If you want to understand how local conditions contribute to the structural issues we see specifically, the Gatewood Fence & Gate home page includes our full service area and more background on the company.
Time-Sensitivity Tiers: What Needs Attention When
Not every warning sign is a five-alarm fire. Some things can be watched and measured for 30 days without meaningful risk. Others mean you shouldn’t operate the gate until someone with experience lays hands on it. Here’s how we break down the urgency - and this is the same framework our team uses when a Highland Park homeowner calls asking whether something is urgent.
Tier 1: Monitor for 30 Days (Low Risk)
- Light surface rust on open faces: Document it, watch for spreading, address it when convenient. Use the photograph and measure section below to track it.
- Slow-to-open behavior that resolves quickly: If the gate is sluggish for the first few inches on cold mornings but moves smoothly after, and there’s no scraping or unusual noise, this can be watched. Note and track whether the sluggishness extends each week.
- Paint cracking along a non-structural trim piece: Cosmetic only. Adds to the project list for the next repaint.
- Slight gate vibration during travel: Some vibration on long gates is normal for certain operator types. Track it. If it’s getting worse week over week, bump it up a tier.
Tier 2: Schedule Within One Week (Moderate Risk)
- Intermittent scraping on one side: The gate is making contact with the ground during part of its travel. This means something has shifted. It’s not urgent-urgent yet, but every day adds wear.
- Grinding that appears and disappears with weather: Classic post movement or hinge wear reacting to moisture and temperature. You’re still safe to operate the gate, but book the repair.
- Sensor fault that happens once or twice a week: Likely a wiring connection. Not a safety emergency if it’s intermittent and you test the obstruction reversal, but it needs repair within days.
- Rust streaking from a hinge pin without play yet: Early warning. The paint has failed at the moving joint. Deal with it before the pin wears.
- Gate closes but no longer engages the latch cleanly: The gate or the post has shifted slightly. It still closes, but the latching hardware is now wearing against itself every cycle.
Tier 3: Don’t Use the Gate Until It’s Inspected (High Risk)
- Any visible post lean or cracking concrete at the post base: The post is moving under load. If it fails, the gate comes down - possibly on a person, a car, or a pet.
- Hearable or feelable play in the hinge pins: A hinge that moves means the gate is no longer fully supported. Weight is being transferred unpredictably through the frame.
- Visible weld cracks in any structural joint: Weld cracks are load-bearing failures in progress. They can go from hairline to fractured in a single cycle.
- Gate frame visibly twisting or racking: The frame is in the process of bending. Every cycle makes it worse.
- Opener motor running while gate stays stationary: The drive mechanism has failed. The motor is spinning against nothing and can burn out, adding a motor replacement to the bill.
- Gate that has fallen off one hinge entirely: This should not need an explanation. Do not attempt to lift a fallen gate by yourself - steel gates are heavy enough to cause serious crush injuries.
When in doubt, call. A free estimate takes 20 minutes and tells you exactly which tier you’re in.
How to Photograph and Measure Warning Signs Correctly
Tracking whether a gate problem is progressing doesn’t require a contractor visit every time. A phone camera, a tape measure, and a consistent approach will tell you whether something is stable or worsening. Here’s the exact method we recommend to Highland Park homeowners who want to monitor a gate between inspections.
Step 1: Establish a Baseline
The day you first notice a problem, take photos from three angles: straight on from the street, from the hinge side looking down the gate’s length, and from underneath looking up at the gap between the gate’s bottom rail and the ground. Use a consistent standing position - mark a spot on the driveway with tape or chalk if you need to.
Step 2: Measure the Key Dimensions
- Ground clearance at three points: hinge end, middle, and latch end. Write the three numbers down.
- Gate-to-post gap at top and bottom: Use a tape measure. Record both numbers.
- Post plumb check: Hold a level vertically against the face of each post. If the bubble is out, the post is leaning. Record which direction and roughly how much.
- Hinge play test: Lift the latch end of the gate gently upward. If you feel movement at the hinge, note how much travel you can feel - even “barely a clunk” is worth recording.
Step 3: Photograph With Scale
Place a quarter or a tape measure in the frame next to any crack, rust streak, or gap you’re tracking. A photo without scale is nearly useless for comparison later. Show the crack’s width, the rust streak’s length, the gap’s taper.
Step 4: Repeat Every Two Weeks
Same angles, same positions, same measurements. After two comparisons, you’ll know the rate of change. No change means the problem is stable - still worth repairing eventually, but not accelerating. Progressive change means it’s an active failure and should be scheduled immediately.
Step 5: Keep the Timeline
Save the photos with date stamps. When a repair technician shows up, showing him the progression tells him more in 30 seconds than an hour of verbal description. It also prevents misdiagnosis - an intermittent problem that’s captured mid-event is worth its weight in diagnostic hours.
This documentation method is one of the things we walk homeowners through when they call us for Gate Installation in Highland Park advice, too - the same habits apply whether you’re monitoring an existing gate or planning a new one.
Warning Signs That Point to a Previous Bad Repair
Some of the most alarming things we find on gates in Highland Park didn’t come from the gate’s original build. They came from a previous repair that was done wrong, usually by someone who was in a hurry or didn’t want to do the harder job. When Hal finds sloppy work somebody left behind, it’s the only thing that genuinely annoys him more than the customer’s frustration at paying twice. Here’s what bad work leaves behind and how to spot it.
New Hardware on an Old Post
A gate that’s been fitted with brand-new hinges but still sags is a red flag. The problem wasn’t the hinges - it was the post, and the previous repair never addressed it. New hinges bolted into a wallowed-out post will wear out fast because the post is still moving under load. If you see bright new hardware on a post with old concrete cracking at its base, someone put a band-aid on the wrong wound.
Welds With Undercut or Porosity
A proper weld looks like a smooth, even bead - like a row of slightly overlapping dimes. A bad weld looks like it got chewed on: pits, uneven width, sharp edges where the bead meets the metal, or spots when the welder didn’t fully penetrate the joint. On a gate, a porous or undercut weld is a fracture waiting to happen. We see these on gates where someone performed a “quick fix” weld without cleaning the old material first or without proper heat settings. A weld that looks rough will fail at the roughest point.
Non-Structural Repair Brackets
You’ll see these on gates where a hinge or frame joint was broken and someone bolted a flat steel plate across the break instead of welding it. The plate looks sturdy. It isn’t. A bolted bracket across a broken gate frame concentrates stress at the bolt holes and transfers load in ways the frame wasn’t built for. The gate may work for a while, but the repair has a shorter service life than a proper weld repair. If you peer at the back of the plate and can see the original crack still visible behind it, that’s the previous repair failing in progress.
Shimmed Hinges or Stacked Washers
When a gate doesn’t align after reinstallation, a lazy repair approach is to pack washers behind hinge plates or shim the gate upward at the hinge. It aligns the gate visually for a few months until the washers compress, the shims squash, or the bolts loosen from the cycling load. Then the gate sags again, worse than before, because the hinge mounting surface now has multiple layers of material between the hinge and the post. If your gate has more than two washers behind a hinge bolt, someone didn’t want to trim or re-hang the gate properly.
Oversized Holes in the Post or Gate Frame
When hardware has been removed and reinstalled multiple times, you often see bolts in holes that are noticeably larger than the bolt shank. This means the hardware is no longer load-bearing by friction and clamping force - it’s bearing on edge contact, which wears quickly and allows the hinge to walk. The correct repair is often to weld up the old hole and re-drill, but some technicians skip that step because it takes time. Oversized holes are a visible signature of a repair that was already done more than once.
The repair-first approach is why we do Gate Motor & Opener in Highland Park work the way we do - on-site, in the driveway, with the gate never leaving the property. Hauling a gate off to a shop and bringing it back with a new coat of paint doesn’t fix what caused the problem.
How Highland Park’s Climate Accelerates Gate Wear
Highland Park has a specific set of environmental conditions that affect gate longevity, and understanding them helps you read warning signs faster. This isn’t a section about general gate theory - it’s about what the soil, sun, and moisture cycle in this specific region does to the metal and electronics on your property.
Expansive Clay Soil and Post Movement
Highland Park sits on expansive clay soils that swell in wet periods and shrink in dry ones. For a gate post set in concrete, that means the surrounding soil is constantly pushing and pulling on the footing as moisture content changes. Spring rains saturate the soil, the clay expands, and the post can shift outward - sometimes only a quarter degree at a time. Late summer drought shrinks the soil, and the post settles back. Each cycle loosens the interface between concrete and earth a little more, and over years the post develops permanent lean. This is why gates in Highland Park scrape the ground after rain and seem fine during dry spells - the post is riding the moisture cycle.
Summer Heat and Electronic Components
Control boards, transformers, and capacitors in gate operators don’t love sustained heat over 100 degrees. Highland Park summers routinely push 100-plus for weeks at a time. Heat accelerates the degradation of electrolytic capacitors, which are the most common electronic failure point in gate opener controllers. A board that worked fine for five years can fail in August, not because of a power surge but because the capacitor finally dried out. This is why we recommend surge protection and thermal inspection as part of every gate opener service in this region.
UV Exposure and Powder Coat Breakdown
The sun in Highland Park is relentless on powder-coated steel. Most gate finishes look great for the first five or six years, then begin chalking, fading, and eventually micro-cracking. Once the coating is compromised, moisture reaches bare steel, and oxidation begins. A gate that looked pristine at installation can show rust streaking from its welds by year seven or eight - the welds are often the thinnest point of the coating. Repainting before the coating fails completely extends gate life by a decade or more.
Wind Loading on Wide Gates
Highland Park sits on relatively flat ground, which means there’s nothing to break the wind. A wide, solid-panel gate acts like a sail. Every wind gust pushes against the gate’s full face, and all that force transfers to the hinges and the opener’s drive arm. Over time, wind cycling causes metal fatigue at the hinge connections and can bend long gate leaves that weren’t designed for the wind’s peak force. If your gate is over ten feet wide, solid-panel, and open to flat terrain, you should give the hinge areas a close look every six months.
If you’re planning work and want a gate that’s matched to local conditions rather than shipped in from a catalog, the Gate Installation in Highland Park page covers how we specify and build for this region.
Opener and Motor Warning Signs Most Homeowners Miss
The gate itself gets most of the attention, but the opener is a separate system with its own failure language. Most opener failures are preceded by weeks or months of behavioral changes that homeowners dismiss. Here’s what to listen and watch for.
Motor Runs Longer Than It Should
If your gate used to open in 12 seconds and now takes 15 or 18, the opener is fighting something - a binding hinge, a dragging bottom rail, a post that’s moved. The motor is working harder and hotter, and its service life is burning off at an accelerated rate. A slow gate is rarely a tuning problem. It’s a resistance problem. Fix the resistance and the speed comes back.
Opacity Changes Without Reason
If the gate starts reversing for no apparent reason - closing partway, then opening again - it’s usually the safety loop detecting something that isn’t there, or a failing obstruction sensor. This can be a wiring issue or a loop that’s starting to short. It can also be the gate slightly dragging on the ground, which the system interprets as resistance and reverses for safety. Either way, it’s worth a diagnostic visit before the system locks into manual mode.
Humming With No Movement
A low hum when the opener should be running often means the capacitor that provides start-up torque has failed. The motor wants to run but can’t overcome initial resistance. If you catch this early, the repair is typically quick and inexpensive. If you let it keep humming, the motor windings overheat and you’re looking at a full opener replacement.
Battery Backup Failures on Mighty Mule and LiftMaster Units
If your gate has a battery backup and you get a battery warning on the keypad or intermittent operation during power outages, the batteries are fading. This is one of the few opener problems that’s genuinely predictable. LiftMaster and Mighty Mule both use sealed lead-acid or lithium batteries with a service life of roughly three to five years in Highland Park’s heat. Testing the battery annually costs little and prevents the discovery that the backup is dead only when the power actually goes out.
Remote Range Shrinking
If remotes need to be closer to the gate than they used to, don’t blame the remote battery first. A failing receiver module or a corroded antenna connection can reduce range gradually. This is especially common after thunderstorms with nearby lightning strikes. We’ve also seen shrinking range on FAAC units where the receiver board takes a hit from a power surge that leaves other systems untouched.
Hinge and Post Failures: The Structural Core of Your Gate
Everything hangs on the hinge post. Literally. When the hinge post goes, the gate goes with it - and most gate failures we respond to in Highland Park trace back to either a hinge post that was never set deep enough or hinges that were never sized correctly for the gate’s weight. This section covers how to spot the early signs of hinge and post trouble before the gate lands in your driveway.
Hinge Post Depth: The Foundation Problem
A hinge post set three feet deep in Highland Park’s shifting clay is set too shallow. The load of a 300-pound gate swinging in the wind exerts enormous leverage at the base of the post. Shallow posts eventually work loose from their footings, and the post leans. An external sign is a visible gap between the post and the concrete at the surface. Internally, the post may be rusting below grade. A properly set hinge post for a steel gate in this region should extend below the frost line and into stable soil - typically 36 to 42 inches for a six-foot-tall gate.
Hinge Sizing and Spacing
Hinges spaced too close together concentrate the gate’s weight in a short vertical distance, which increases the load on the post top. Hinges set too far apart on a tall, heavy gate cause the gate to flex between them under wind load. Their weight capacity should match the gate, and the top hinge carries most of the force in a properly hung gate. If you see a gate with different-sized top and bottom hinges - usually the replacement of a failed hinge with whatever was on the truck - the load distribution is now wrong.
What To Look For at the Hinge Area
- Paint flaking in a radial pattern around the hinge plate: Movement at the hinge is cracking the paint from the center outward.
- Hinge pin with visible rust weeping down the strap: The pin is rusting in place, which means it’s seizing and transferring twisting loads into the hinge mount.
- Gap between hinge strap and post face: The hinge is pulling away. Even a sixteenth-inch gap is meaningful.
- Cracking concrete around the post within two feet of the surface: The post is rocking in its footing.
- Gate that hangs lower at the latch end in the morning and recovers during the day: Moisture cycle movement in the soil, showing the post isn’t as stable as it should be.
The simplest test: stand beside the gate, watch the hinge area, and ask someone else to move the gate slowly through its full travel. If you can see any movement at the hinge plates or the post top, that movement shouldn’t be there. A properly hung gate transfers all motion through the hinges themselves, not through the mounting surfaces.
Common Mistakes to Avoid
- Lubricating a grinding gate instead of finding the grind: Grease quiets the symptom for about a week and then the grinding returns, usually worse. Grinding means contact. Contact means a structural shift. Lubricating without diagnosing turns a $200 adjustment into a $1,200 rebuild.
- Adjusting an opener’s force settings to compensate for a dragging gate: Crank up the opener’s strength so it powers through the bind, and the opener’s motor, gear set, and drive arm all take the punishment. The gate won’t be heavier - the repair bill will be.
- Straightening a bent gate leaf with a come-along and a tree: We have seen this. The frame may look straighter, but the metal has been cold-worked and the welds have been stressed past their original design. The gate is now weaker than it was bent.
- Replacing photo eyes before checking wiring: Sensors rarely fail on their own. If a new photo eye doesn’t fix the intermittent fault, the problem was never the sensor. Check connections before buying parts.
- Ignoring ground scraping because “it’s barely touching”: A gate that touches the ground every cycle is wearing away material every cycle. In three months, “barely touching” becomes “dragging.” In six, it becomes “stuck.”
- Waiting until the gate falls to address post lean: A leaning post doesn’t repair itself when it gets bad enough. Every week of lean means more stress on the concrete, more stress on the hinges, and more cycling on whatever component is already compromised.
- Hiring the first company that answers without verifying their local presence: A name you can’t verify with a published address and a license number you can look up isn’t accountable. The name on the shop matters in this trade. Gatewood Fence & Gate has had the same name on the shop since 2001.
When to Call a Professional
Call if you see post lean, weld cracks, hinge play, or hear grinding. Call if the gate has fallen off a hinge, if the opener runs without moving the gate, or if the gate reverses randomly on its safety sensors. Call if you’ve photographed and measured a symptom for two weeks and the measurements are changing. If you’re in Highland Park and unsure whether what you’re seeing is urgent, Gatewood Fence & Gate offers free estimates - a call to (325) 936-1371 gets Hal or a member of his crew on the line, 24/7, and someone will be out to look at it with no obligation and no trip charge inside the county.
Frequently Asked Questions
Most gate repairs in Highland Park fall between $180 and $850 depending on the component involved. Hinge replacement or tightening typically runs $120 to $300 per hinge set, post re-setting runs $350 to $900 depending on depth and concrete work, weld repairs run $100 to $400 depending on length and access, and opener control board replacement runs $250 to $650. The price is quoted and agreed before any work starts - never after. Call (325) 936-1371 for an exact quote and a free estimate.
Yes, most hinge, weld, and minor alignment repairs in Highland Park can be diagnosed and repaired the same day you call. We carry common hinge sizes, weld equipment, and hardware on the truck, so there’s no follow-up trip for most jobs. Call (325) 936-1371 and a live person answers - mention you’re in Highland Park and we’ll route the nearest available truck straight over.
In Highland Park’s heat, a well-maintained gate opener typically lasts 8 to 12 years for a quality unit from LiftMaster, FAAC, or Elite. Cheap units and units that have been stressed by a binding gate can fail in 4 to 6 years. The biggest factor is whether the gate itself remains properly aligned - an opener that fights a sagging gate every cycle burns out years early.
We service LiftMaster, FAAC, BFT, Linear, Viking, Ghost Controls, DoorKing, Elite, and Mighty Mule units throughout Highland Park - including older models that many other companies won’t touch because they’d rather sell you a replacement. Our on-site welding and repair-first approach means we fix the existing opener mechanically when possible rather than automatically swapping it.
A sagging gate is a structural failure in progress. The weight of the gate is no longer properly transferred through the hinges into the post, which means the post is taking the load at an angle it wasn’t designed for. Sagging gates can and do fall - on people, pets, and vehicles. If your gate scrapes the ground or the gap to the post has changed, treat it as a safety issue and have it looked at.
We do both. If a gate is repairable, we repair it - often on-site, in your driveway, with the gate never leaving the property. If a gate has failed to the point where replacement is the honest recommendation, we’ll show you the failure, explain why repair would be sinking money into it, and quote a new installation with the same 90-Day Done Right Promise. Explore our Gate Installation in Highland Park page for details.
No. We don’t charge a trip charge inside the county, and estimates are free. The price we quote before the work starts is the price you pay when it’s done - no surprises at the door, no upcharge once the gate is apart.
The Bottom Line
Gates announce their failures months in advance, if you know what to listen for. The morning-scrape and afternoon-clear pattern. The gap that’s wider